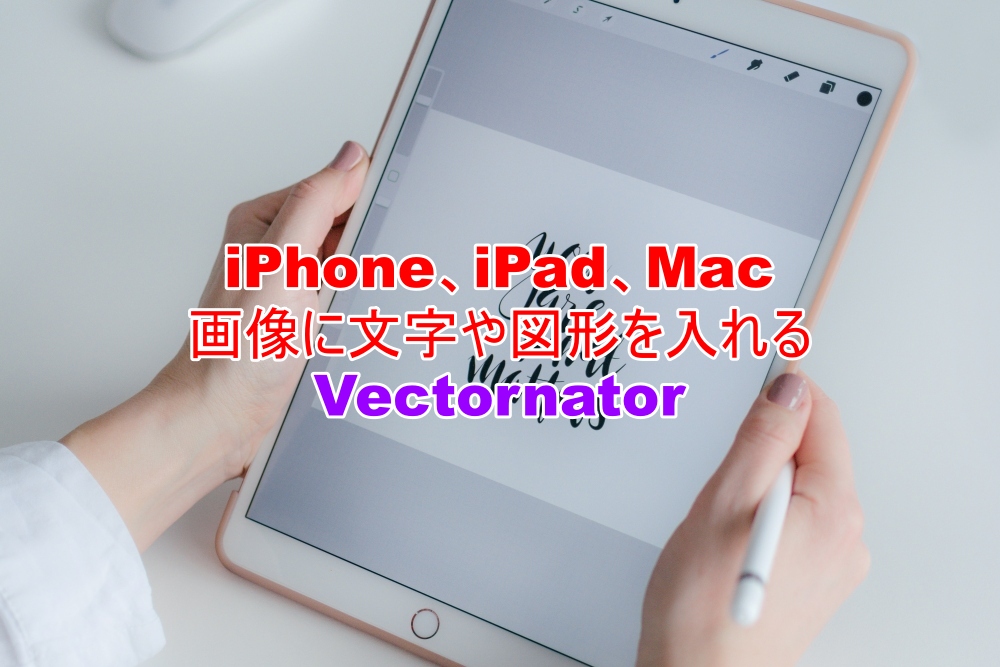
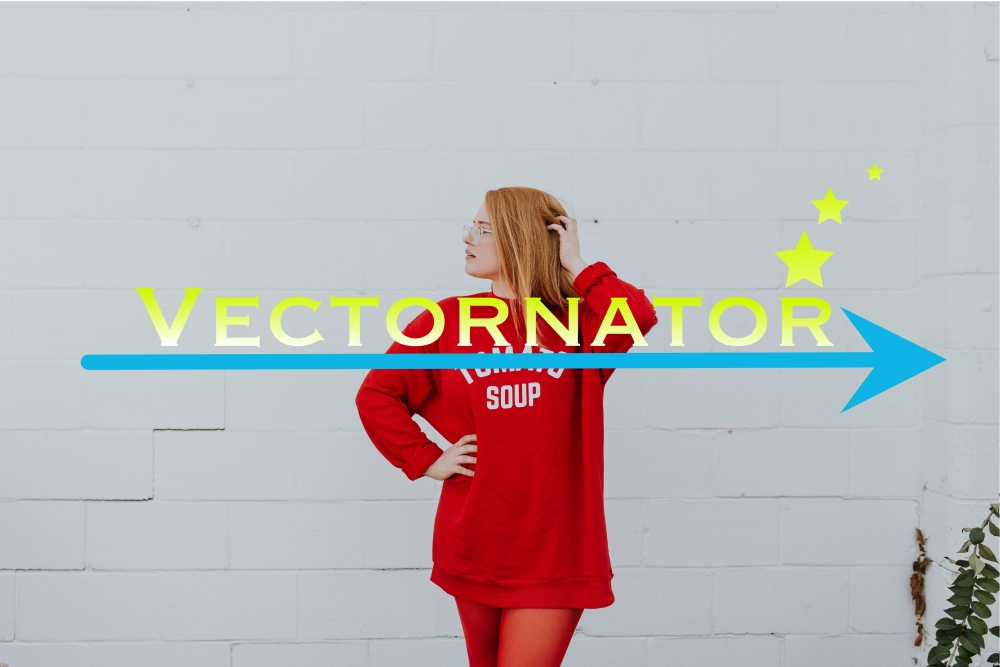
「画像に文字や図形を入れたい!」「画像に手描きで表現を加えたい!」、ブログやネット販売、そしてビジネスでのやり取りにおいて、これが簡単にできれば、相手に言いたいことを伝える上で、大きな武器になります。今回はアプリ「Vectornator」を使った、画像への文字の入れ方を初心者にもわかりやすく解説します。
画像に文字入れ、手描きアプリ「Vectornator」でIllustrator要らず
Vectornatorは
・iPhone
・iPad
・Mac
これらデバイス向けに
無料で公開されています。
ベクターデータを扱う場合は
高価なAdobe Illustrator が有名ですが、
プロのクリエーターでもなくて
ブログ用の画像を作ったり
ネット販売用のイメージ画像作る程度なら
このVectornatorでもじゅうぶんだと思います。
ここでは、iPadの画面を使って
解説します。
尚、Vectornatorを使う上で
Apple Pencilは必須ではありませんが
あったほうが作業は捗ります。
Vectornator 画像に文字と図形を入れる手順解説
解説に入る前に、
僕もAdobe Illustratorはずっと使って、名刺、年賀状、かんたんなフライヤー制作をしてきました。ですが、本来のIllustratorの持つ機能はまったく使いこなせないままでした。VectornatorはIllustratorほどの機能は持っていませんが、使ってみた感想では、僕の使うような範囲であれば、じゅうぶんな機能を持っていると感じました。
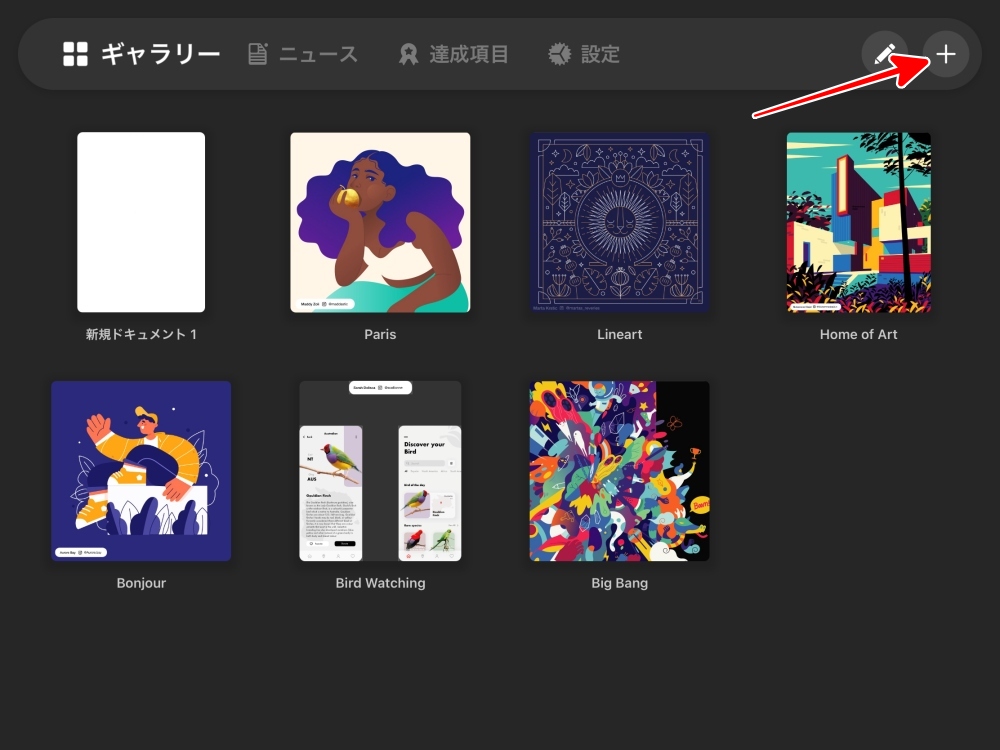
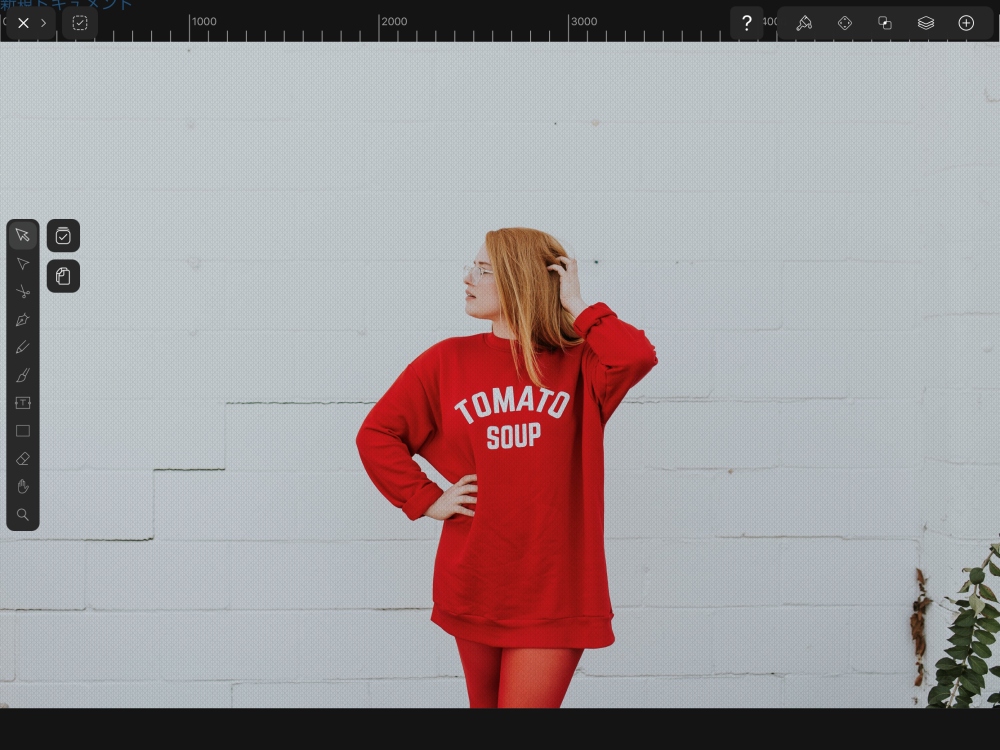
最初に文字や図形を入れる画像をセットします。
右上の「+」ボタンをタップ。
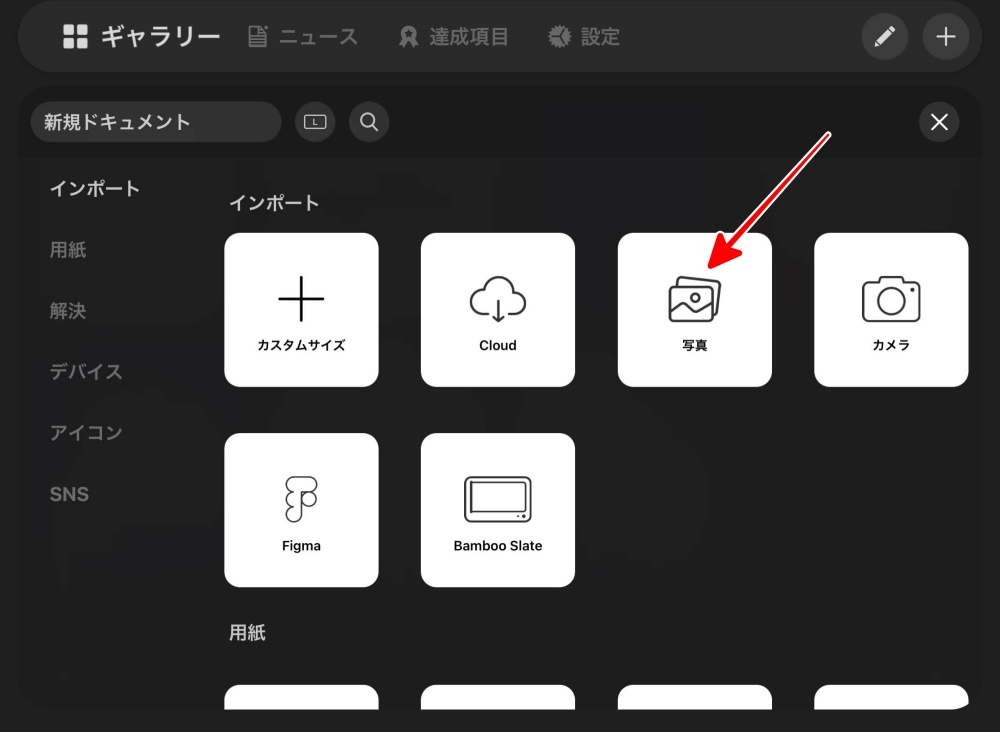
インポートする材料を選びます。
ここでは画像に文字や図形を入れるので
「写真」をタップします。
画像一覧から使う画像を選んで
セット完了です。
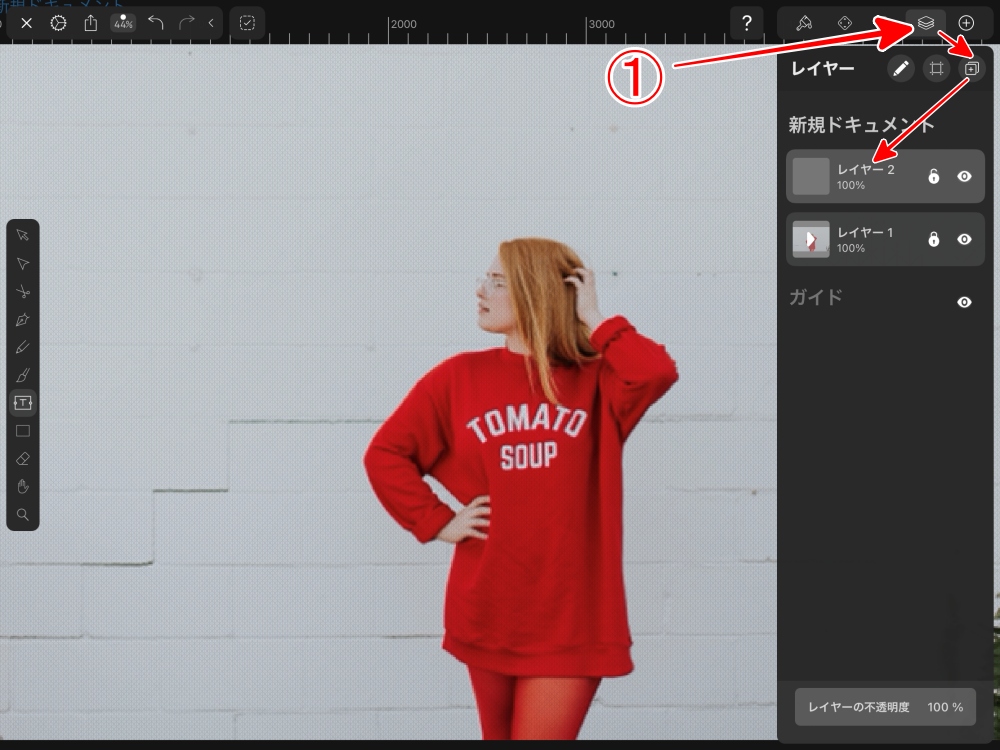
まず、文字を入れるための
文字専用レイヤーを作ります。
「1」レイヤーボタンをタップして
すぐ下の「+」ボタンをタップすると
「レイヤー2」が新規に作成させます。
「レイヤー1」は元の写真です。
レイヤーについてはコチラの「Adobe Fresco」の記事で解説しています。
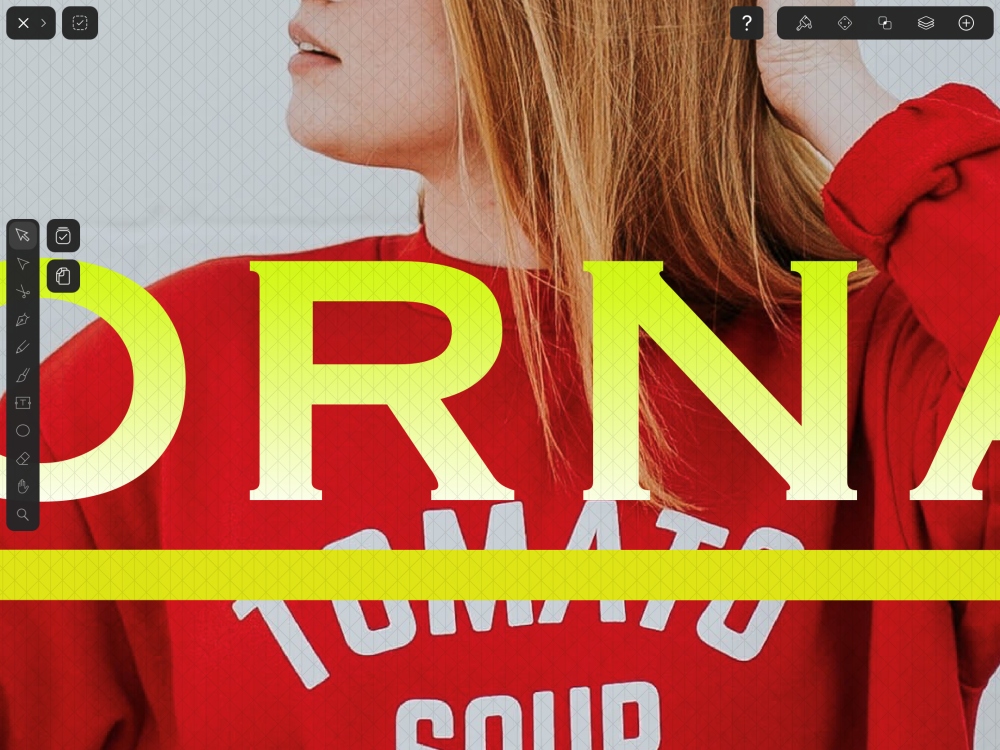
「レイヤー2」を選択した状態で
左のツールから
「2:テキスト」のボタンをタップ
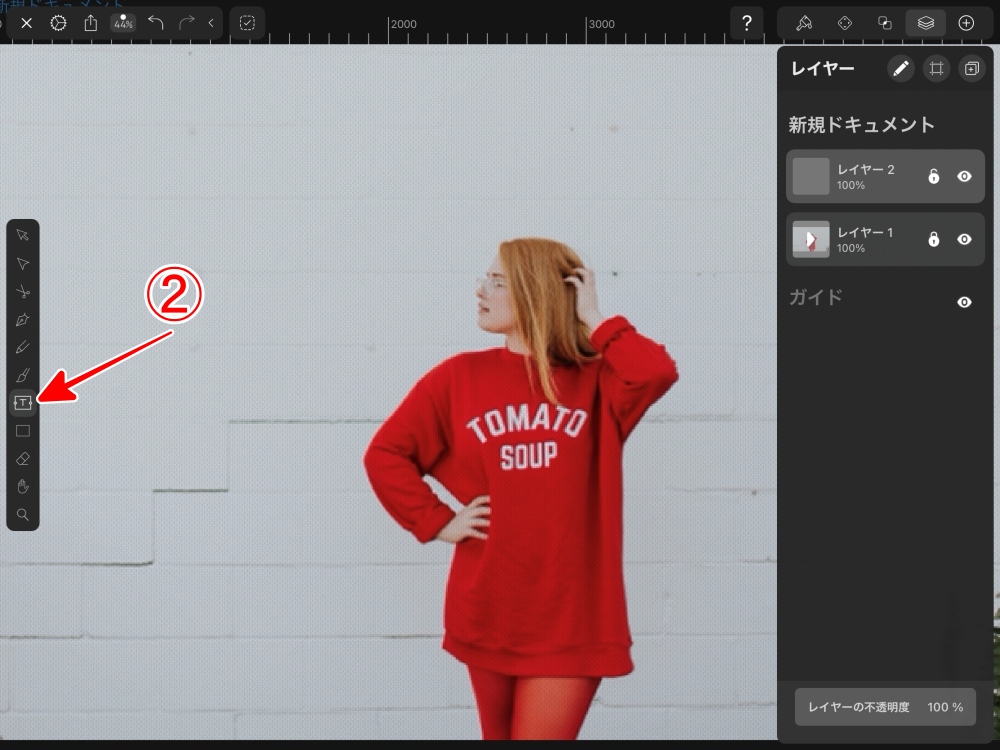
画像上の任意の位置をタップして
ドラッグすると
テキストボックスが表示されます。
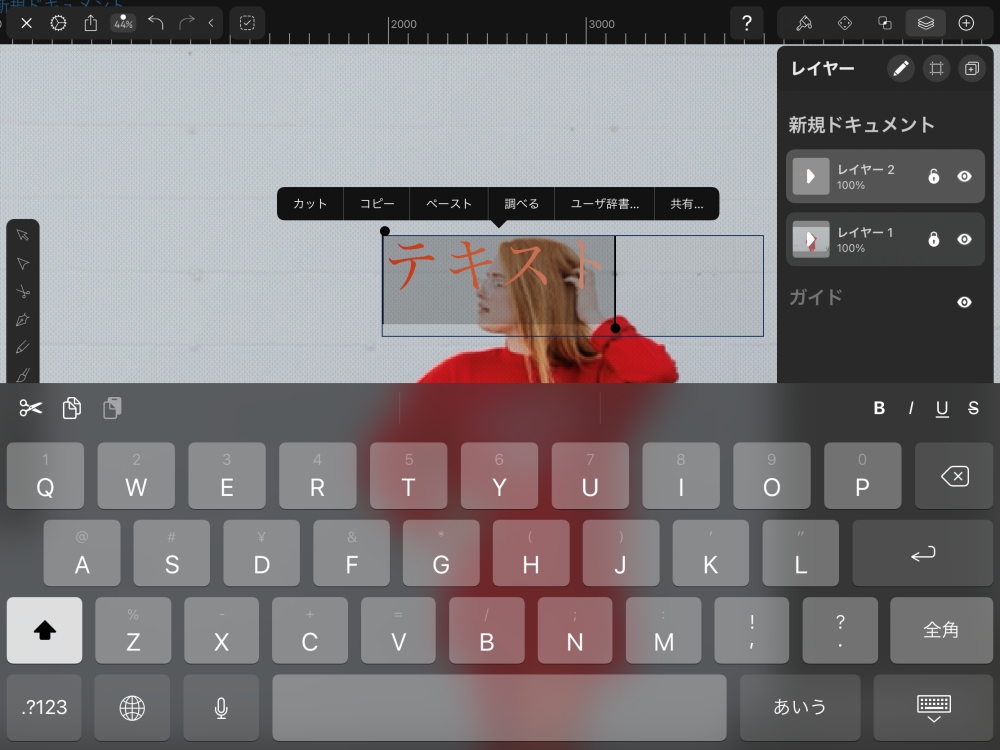
自動で入っている
「テキスト」の文字を削除してから
文字を入力します。
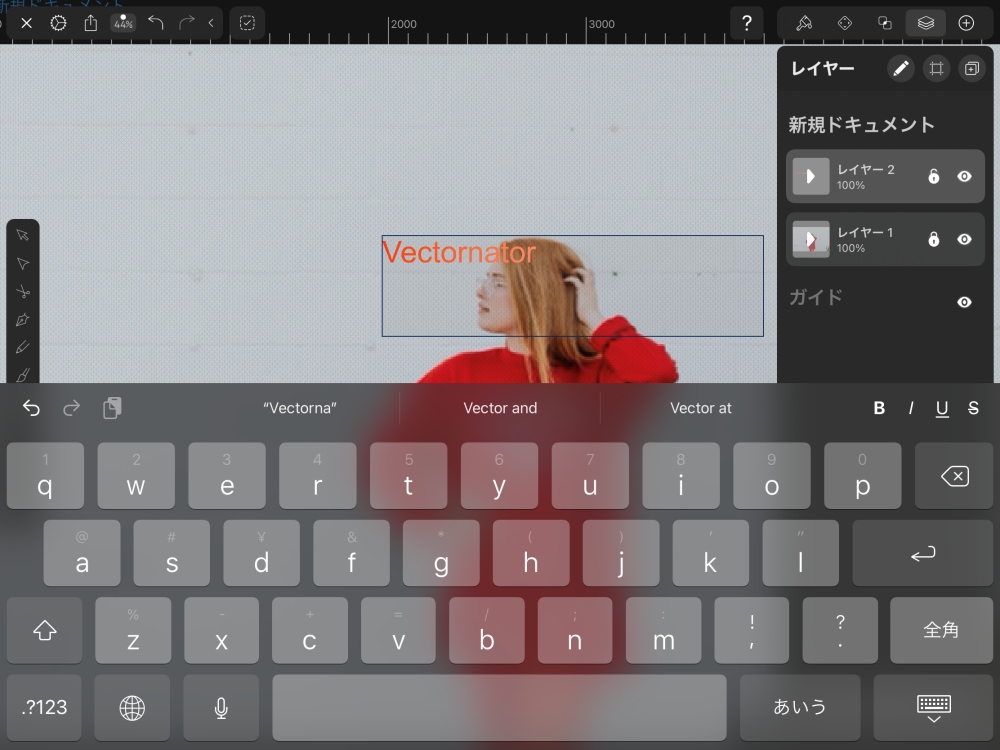
文字入力ができました。
次は、文字を装飾します。
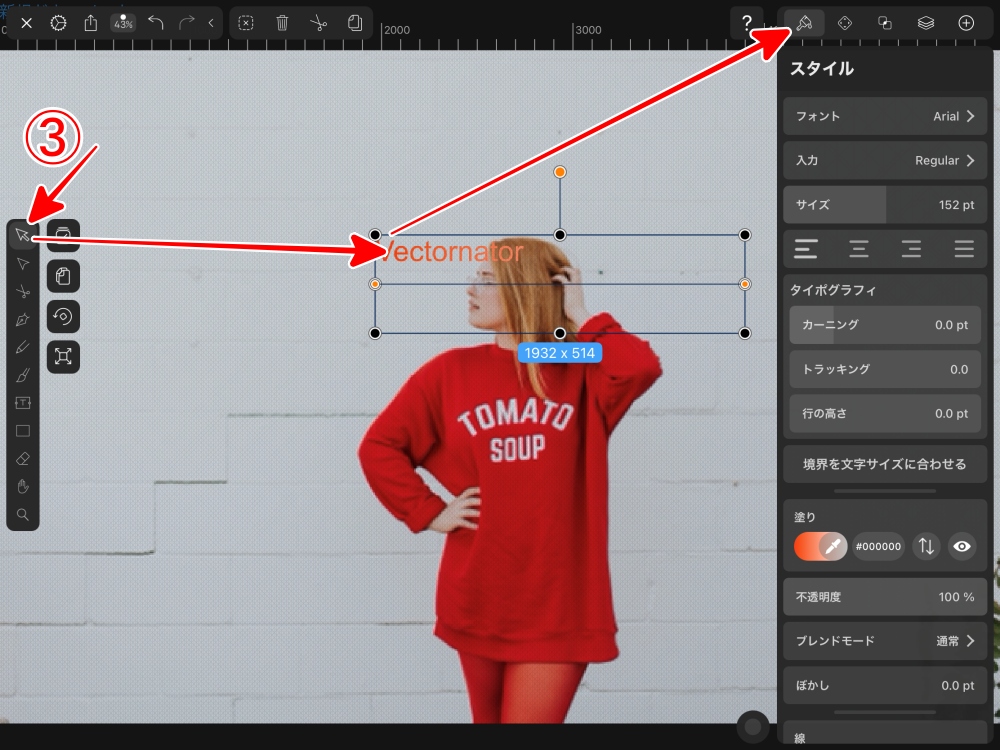
まずは、左のツールから
- 一番上の「3:矢印」ボタンをタップ
- 文字をタップして選択
- 右上から「スタイル」ボタンをタップ
「スタイル」の調整バネルが表示されます。
1.フォントを変える
「4:フォント」をタップ
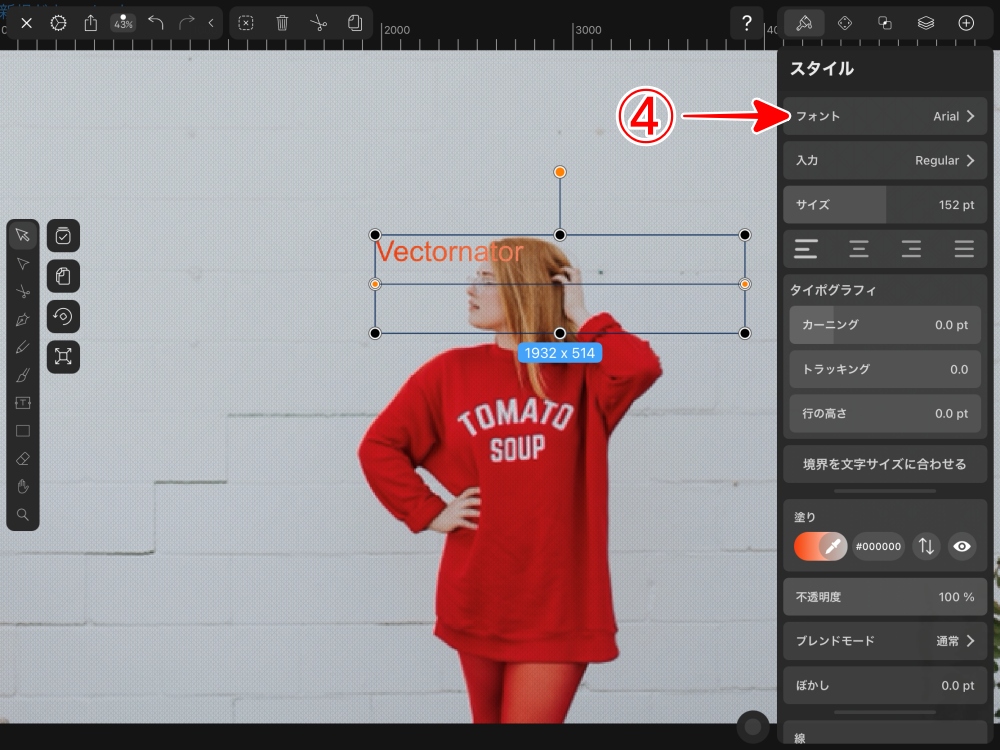
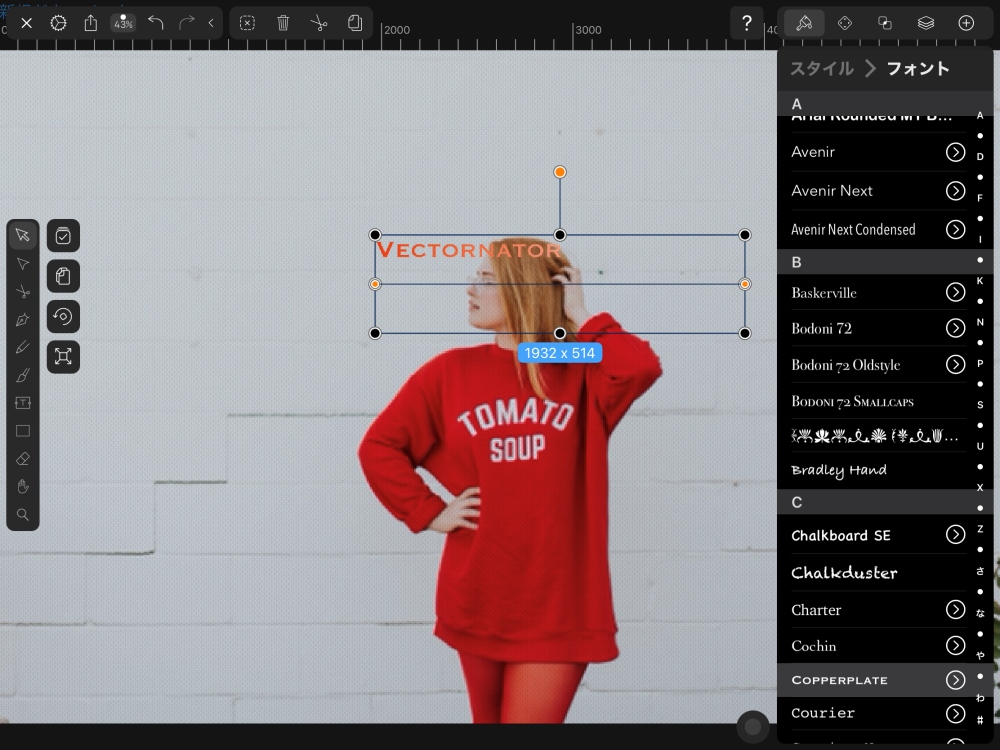
フォントの一覧が表示されますので
使いたいフォントを選びます。
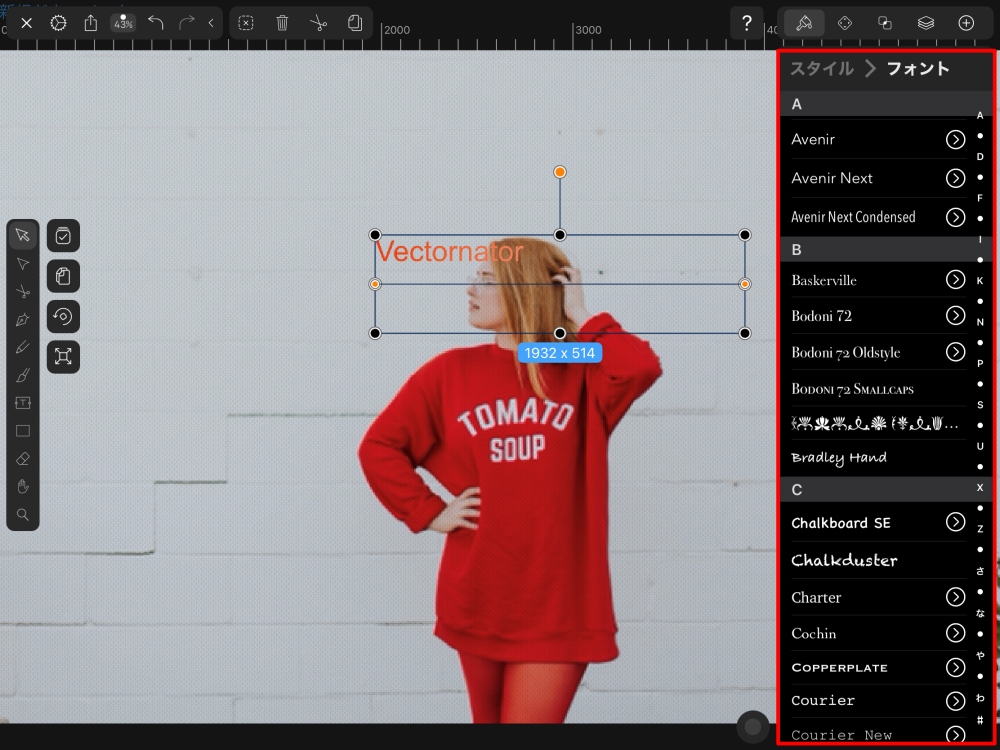
フォントが変わりました。
ここでは、「COPPERLATE」を選びました。
2.文字の大きさを変える
スタイルから
「5:サイズ」をタップ。
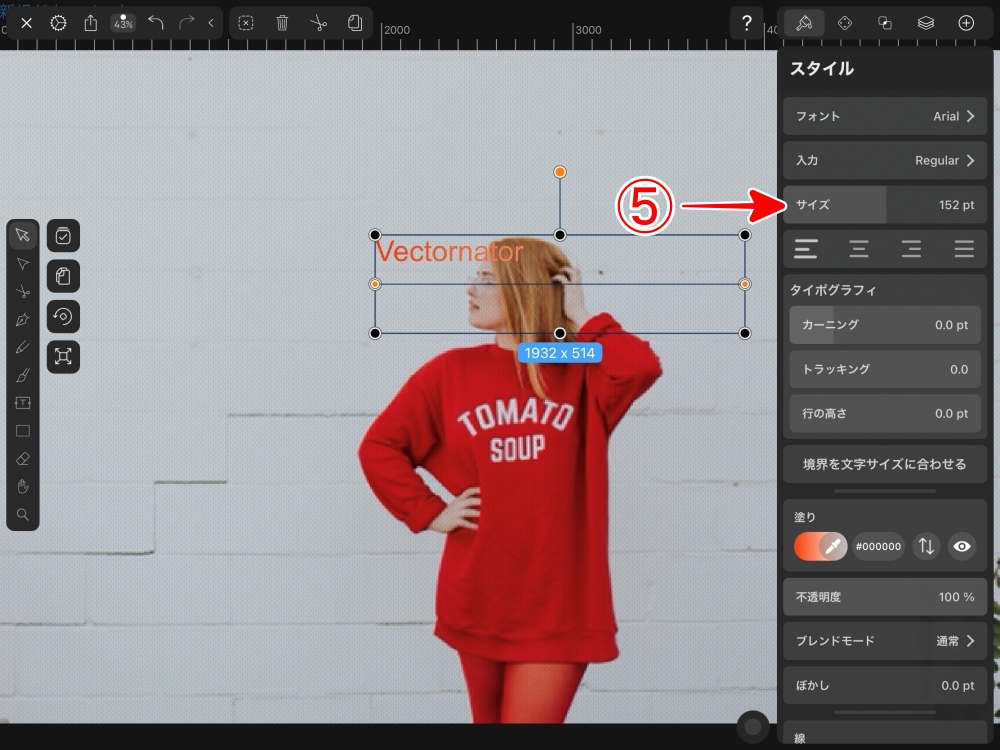
サイズの数値を入力または
スライドバーを動かしても
サイズ変更ができます。
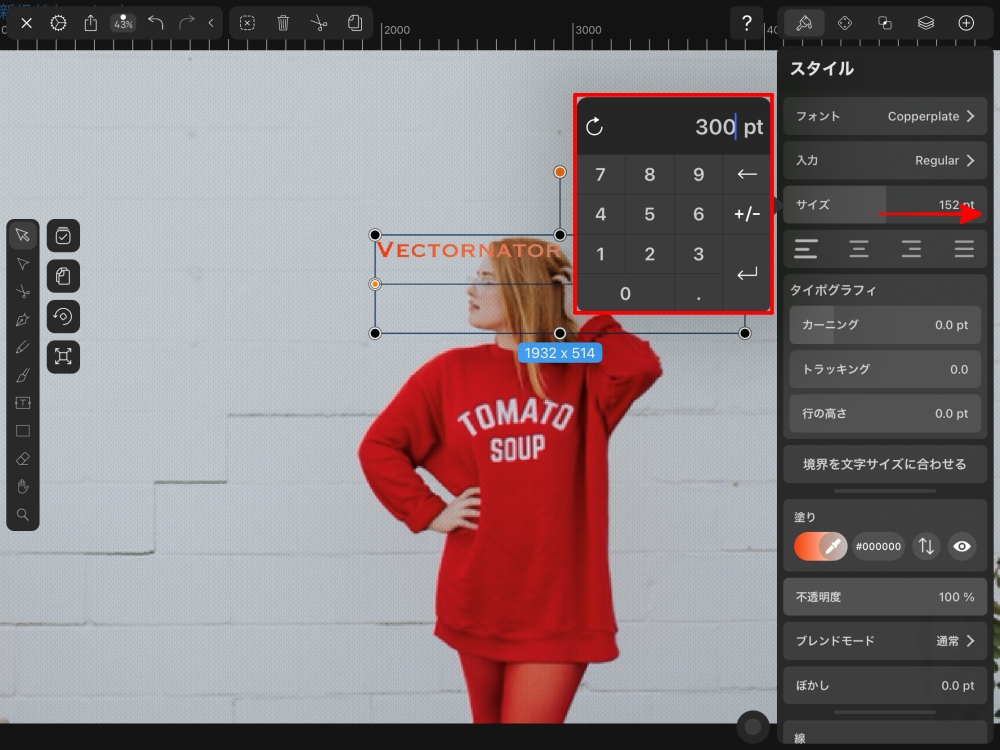
最大で「300pt」までの入力ですが
これ以上に大きくする方法は
後ほど解説します。
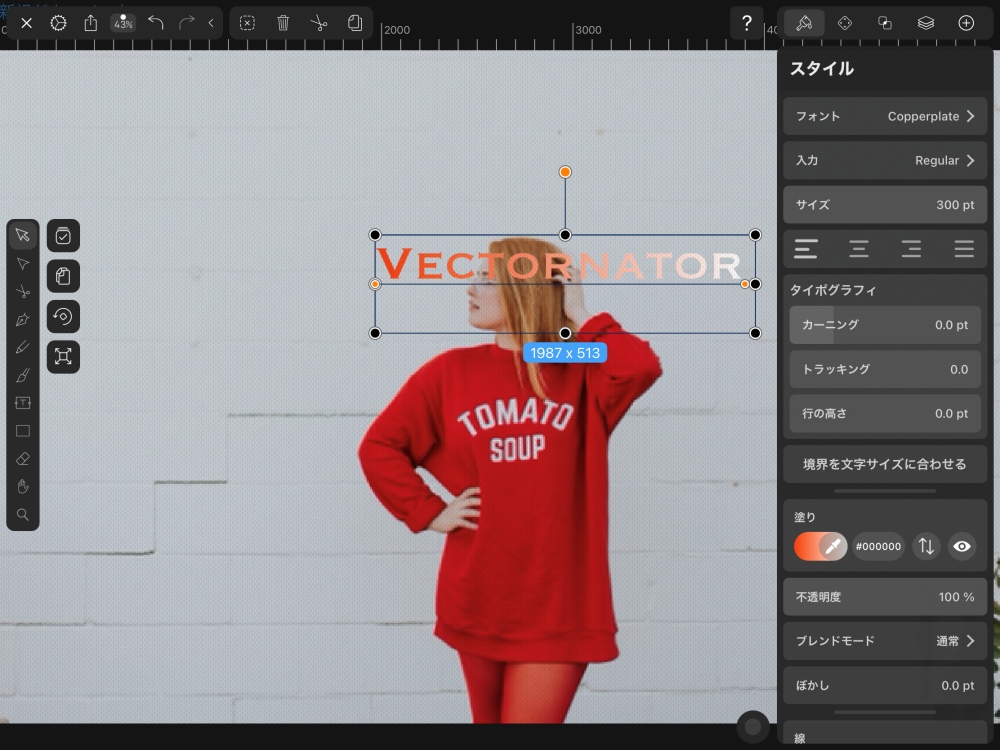
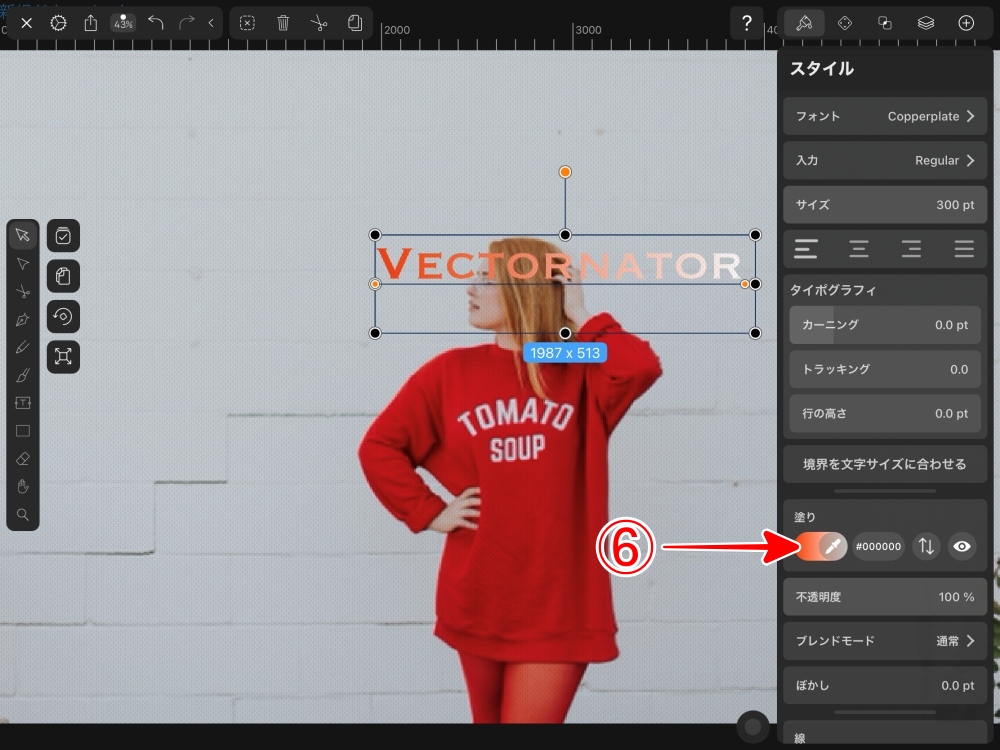
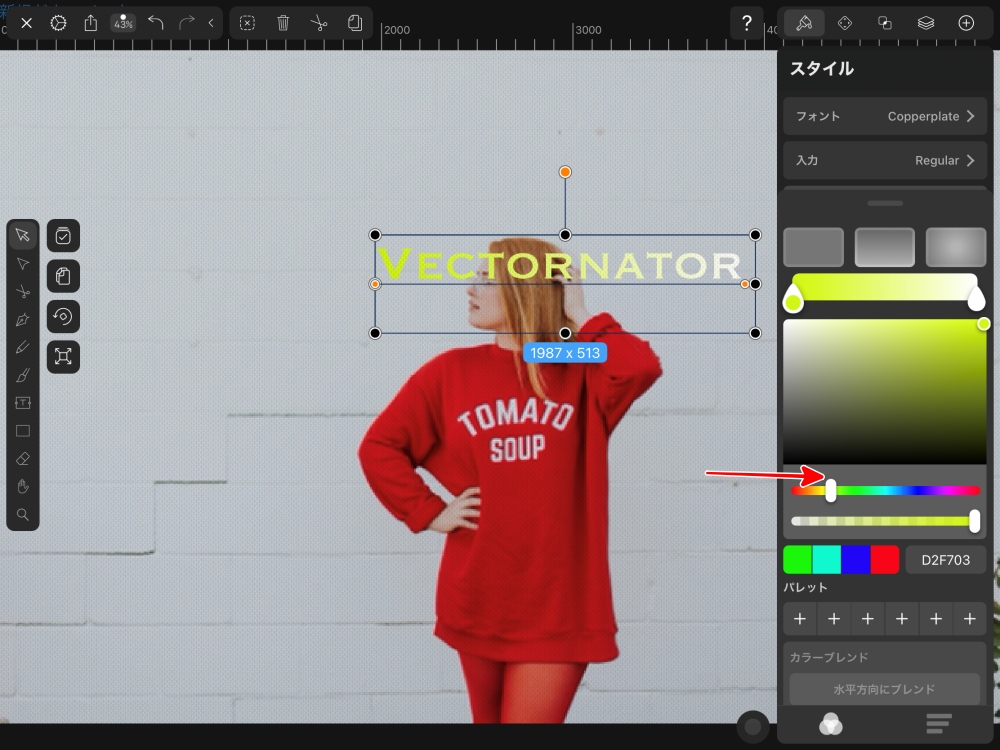
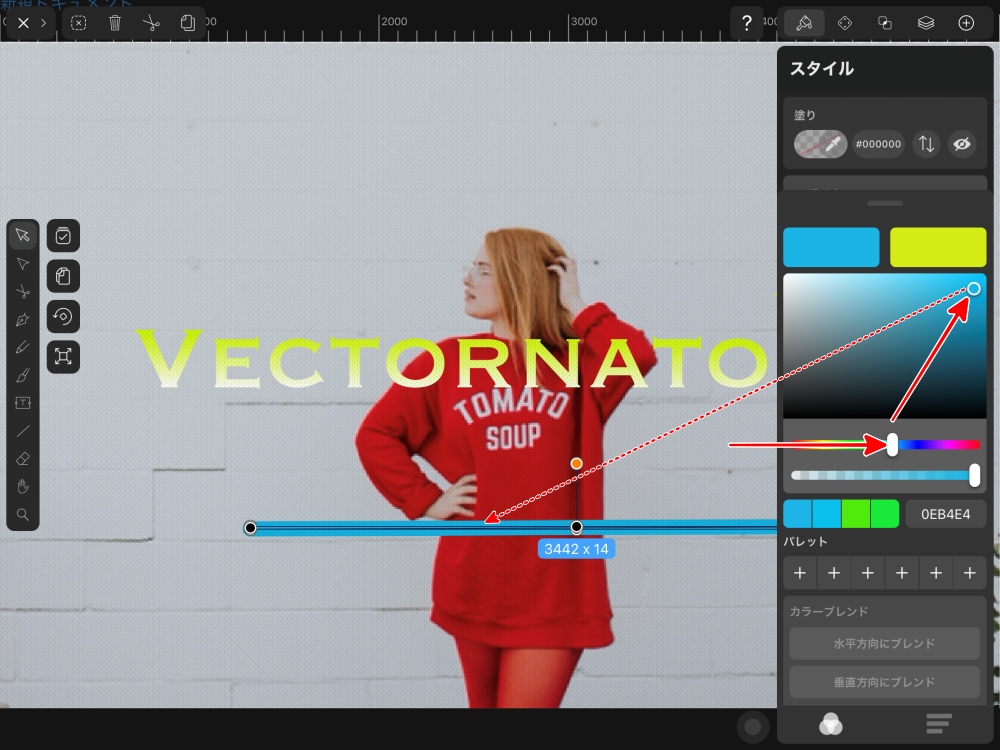
3.文字の色を変える
「6:塗り」の
ここだとオレンジ色の部分をタップします。
「7」のカラーバーで
文字の色を選択すると
すぐ上の四角形に反映されますので、
●を動かして、細く色を調整します。
調整した色はすぐ上の
グラデーションバーの左のポイントと
文字のいちばん左端と同じ色になります。
同じように
グラデーションバーの右のポイントと
文字の右端が同じ色になります。
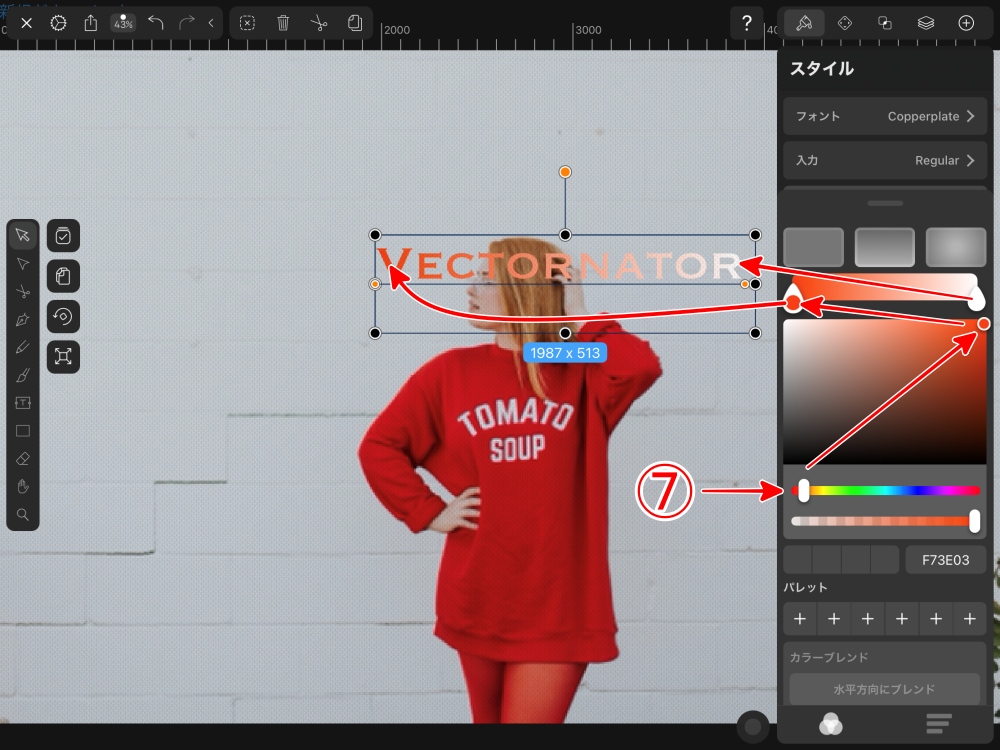
これを使って、違う色にしました。
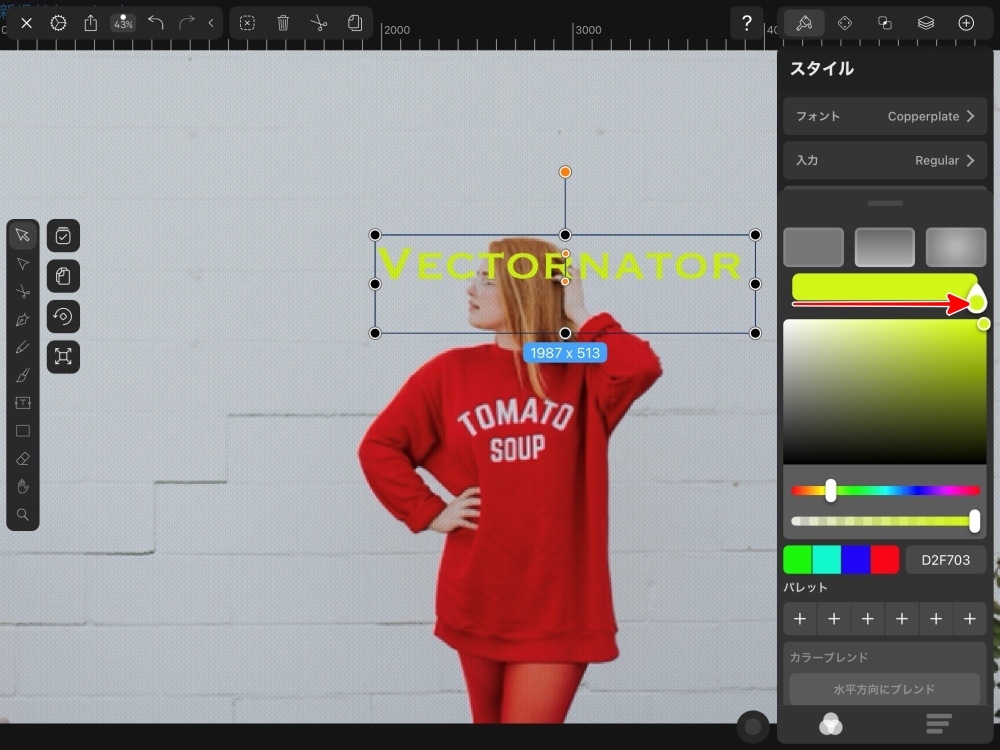
4.文字のグラデーションを調整する
文字を選択したときに表示されている
オレンジの●2つ、
これをそれぞれドラッグして動かします。

2つの●を動かして
横方向のグラデーションを
縦方向に変えました。

次に、グラデーションの
イエローとホワイトの割合を変えます。
グラデーションのバーの
ホワイトのボタンを左へ動かすと
文字のホワイトの割合が大きくなります。

反対に、
ホワイトのボタンが右端にあるときに
イエローのボタンを右端まで動かすと
グラデーションが無くなります。
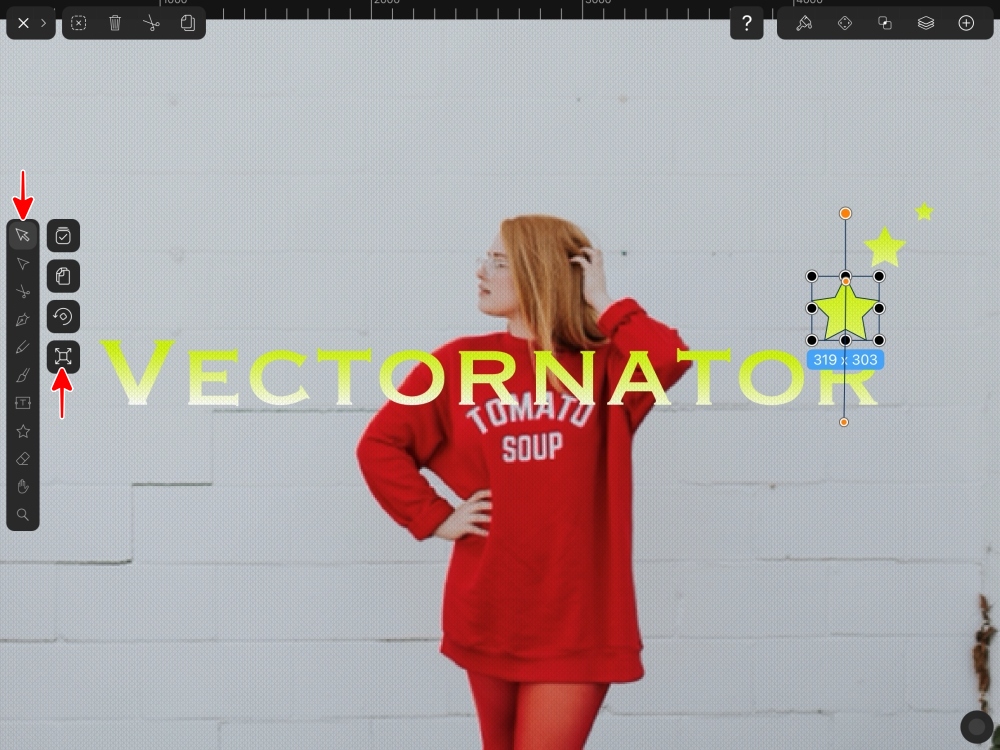
5.文字を移動させる
文字が選択された状態で
タップしたままドラッグします。

6.文字をもっと拡大する
スタイル設定か行った文字の大きさを
もっと大きくします。
「8」の拡大・縮小ボタンをタップ
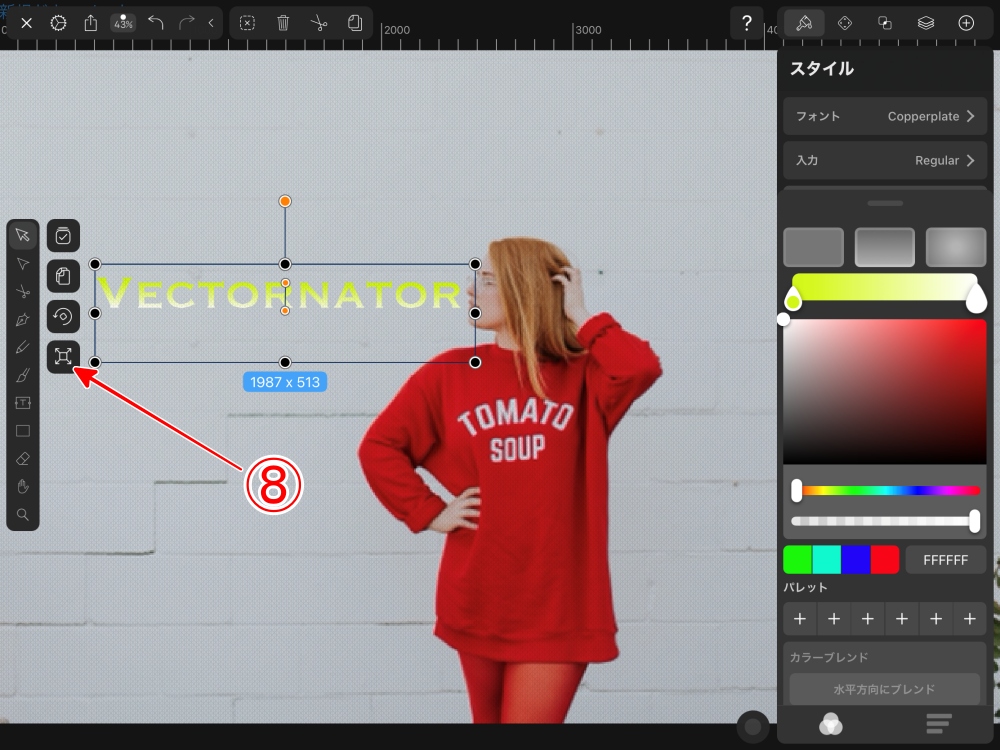
文字周囲の黒い●をドラッグすると
拡大できます。
好みの大きさで指を離すと固定されます。
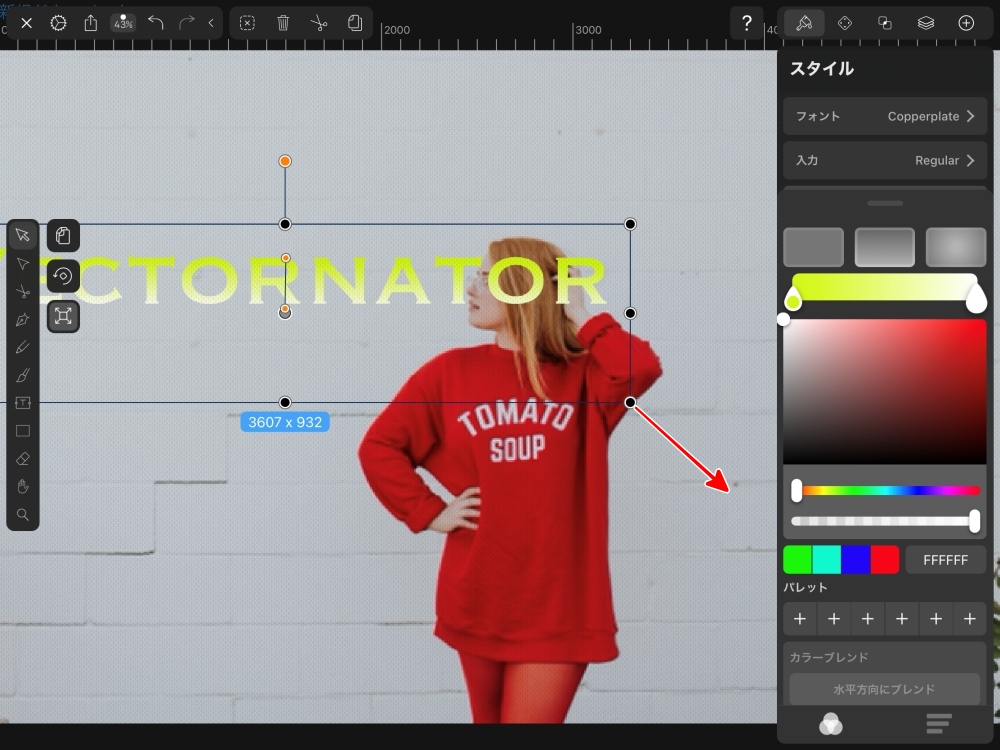
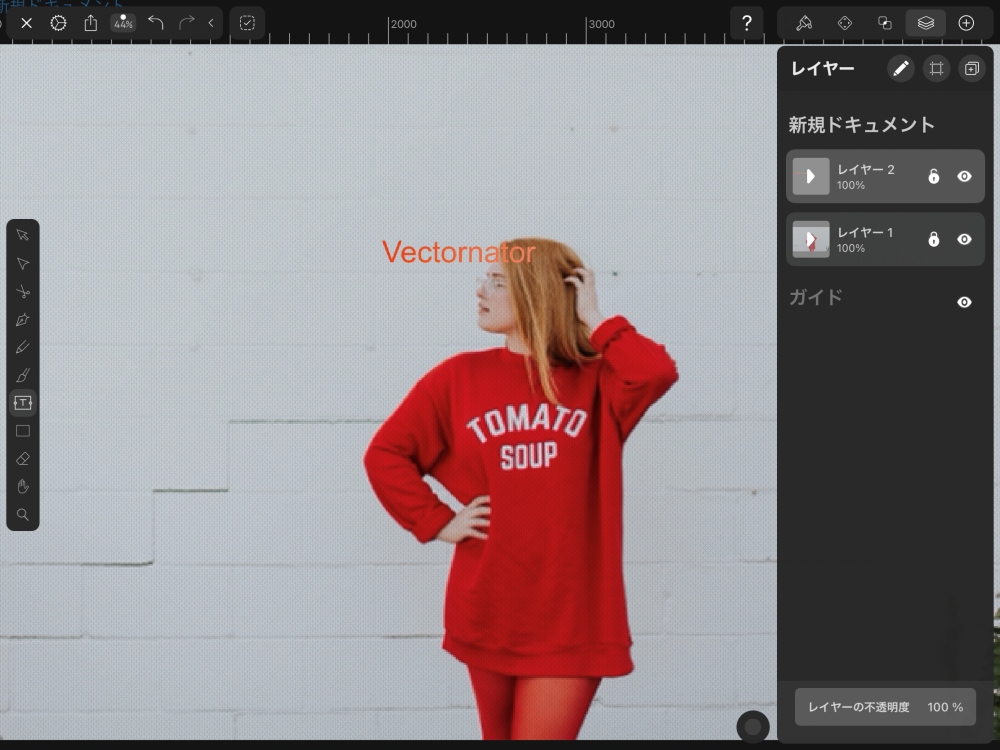
画像の中央あたりまで移動させました。

図形を入れる前に
文字のときと同じで
図形用に新しいレイヤーを作成します。
「9」レイヤーボタンをタップして
「+」ボタンをタップすると
新規レイヤーが追加されます。
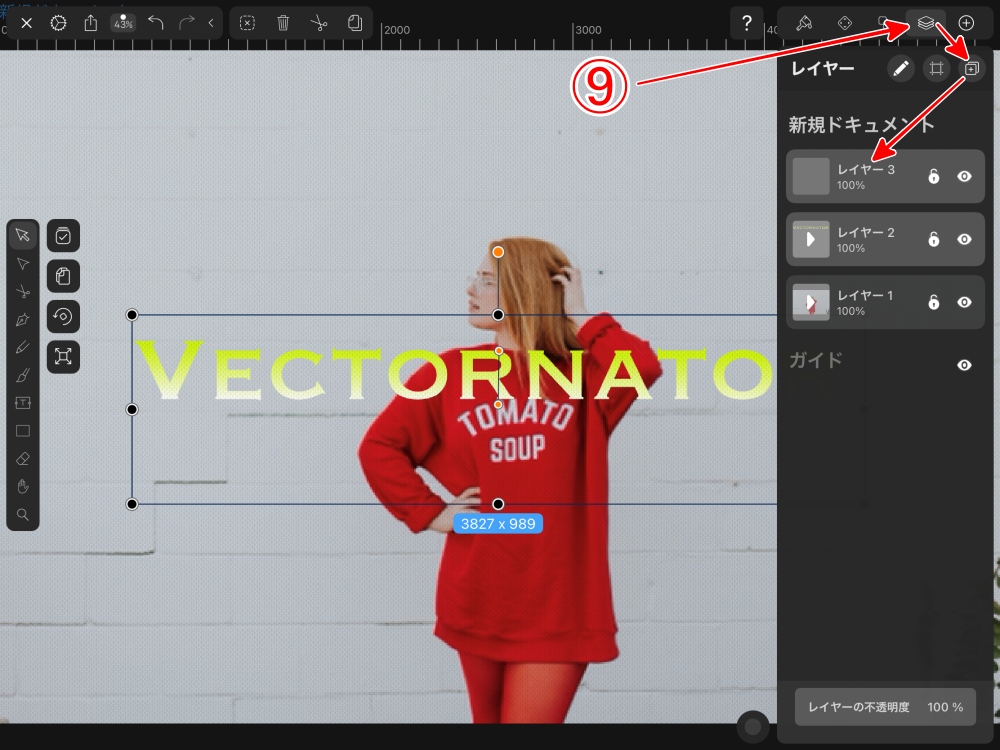
「レイヤー3」が選択された状態で
左のツールから図形ボタンをタップして
「…」ボタンをタップします。
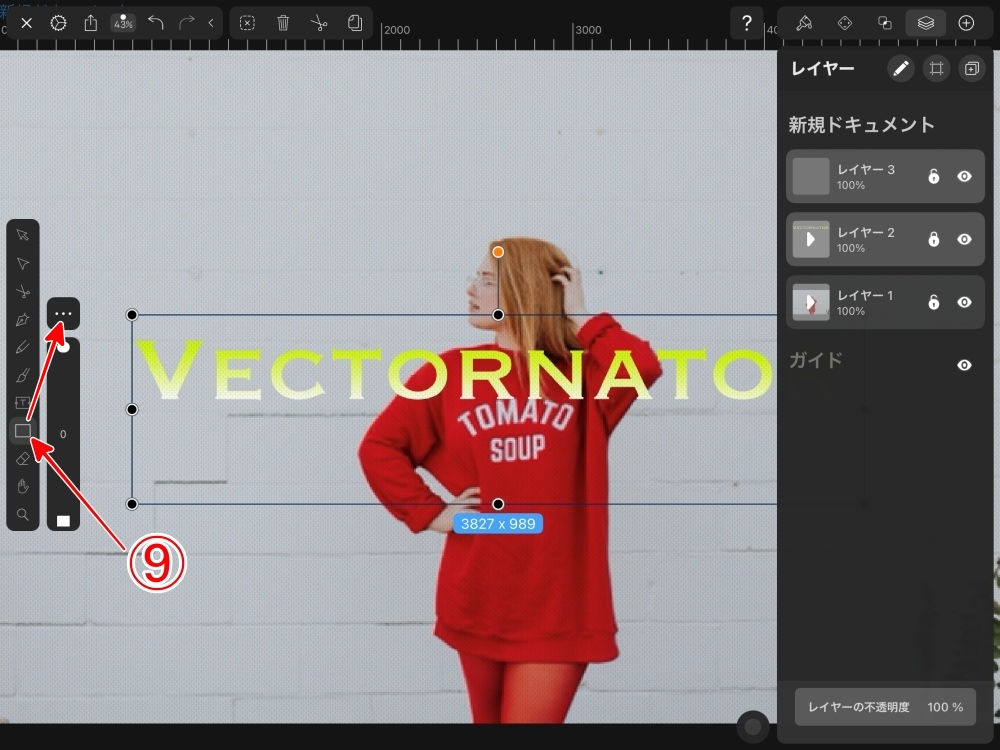
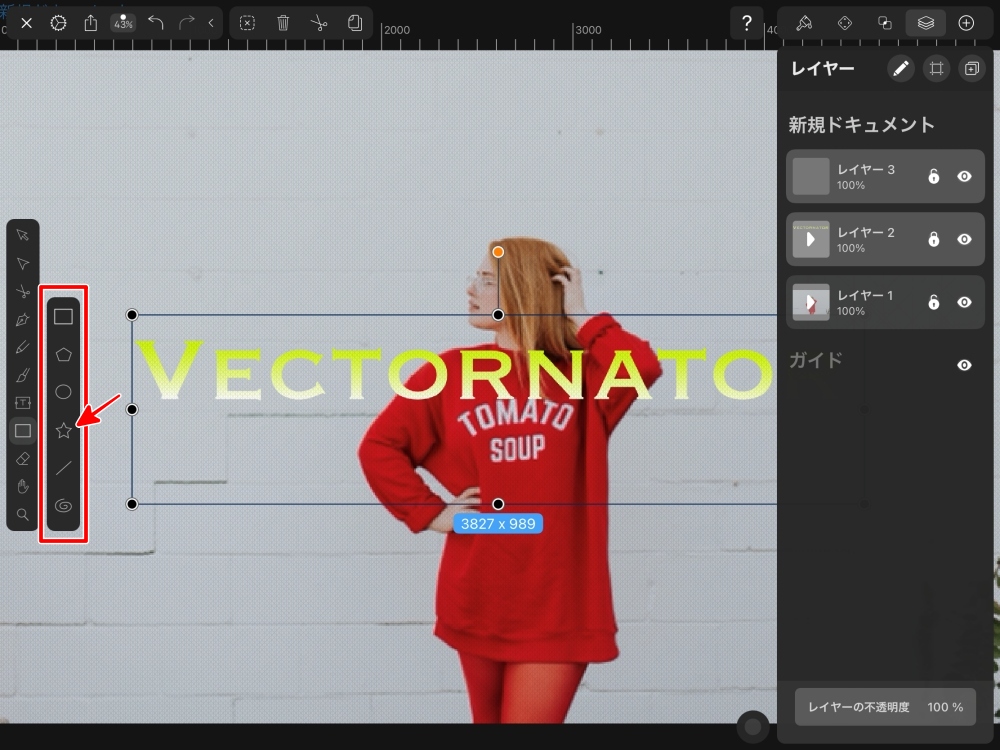
図形一覧の中から
使う図形を選びます。
ここでは☆を選びました。
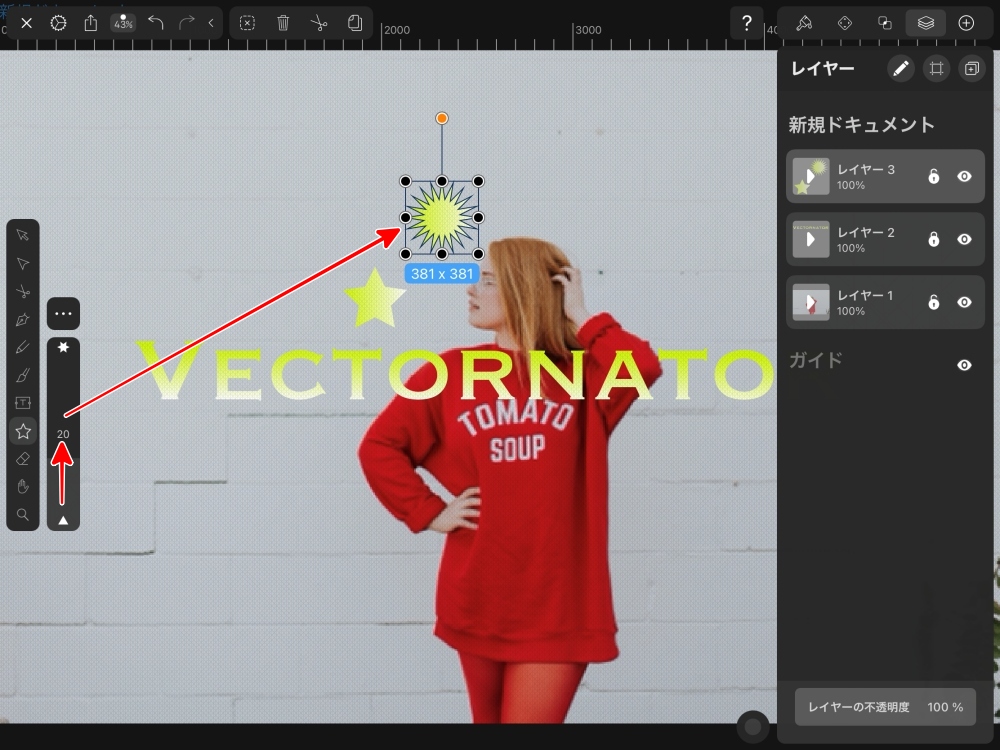
画像上でタップして
ドラッグした量の大きさで
図形が描けます。

星のスライダーを動かすと
星をもっと多角形にできます。
文字のときと同じように
左のツールの一番上のボタンで移動
右の列の一番下のボタンで拡大縮小
それぞれ行います。
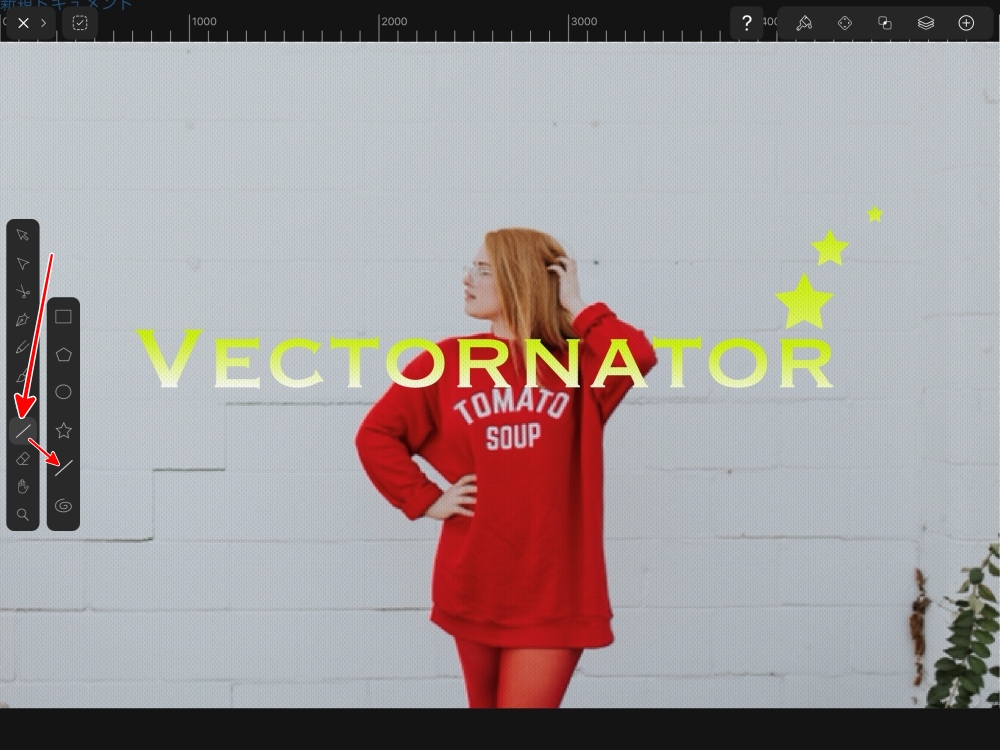
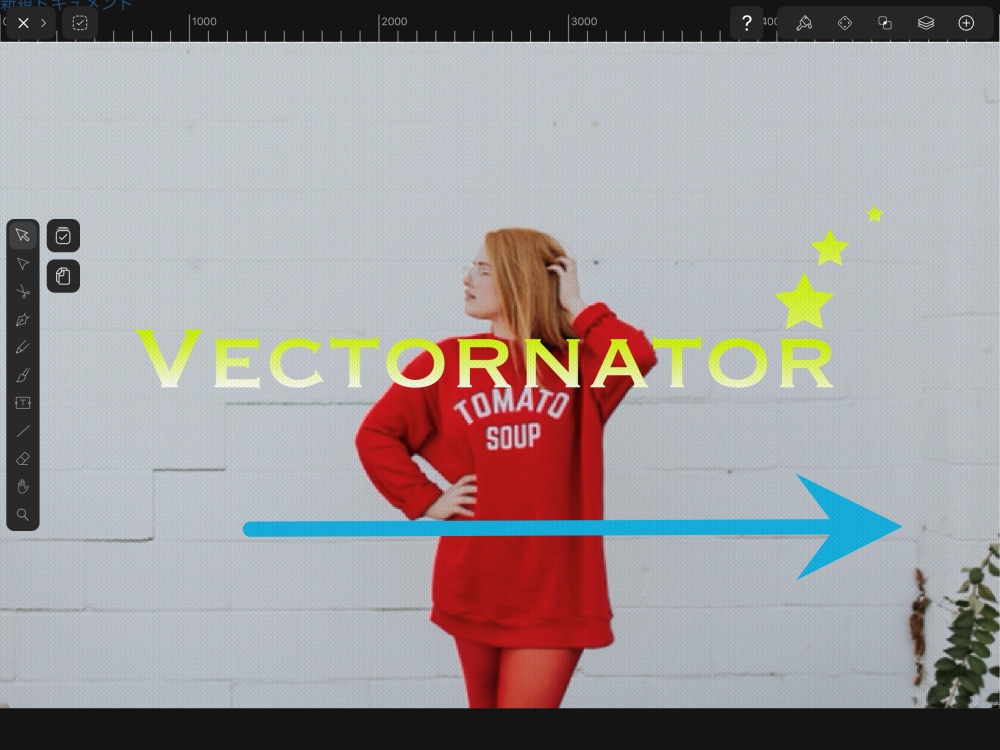
次は「矢印」を入れます。
矢印は、僕もブログ記事の作成で
頻繁に使うので、重要な機能です。
左のツールから図形をタップして
表示される図形一覧から
「ー線」をタップして選びます。
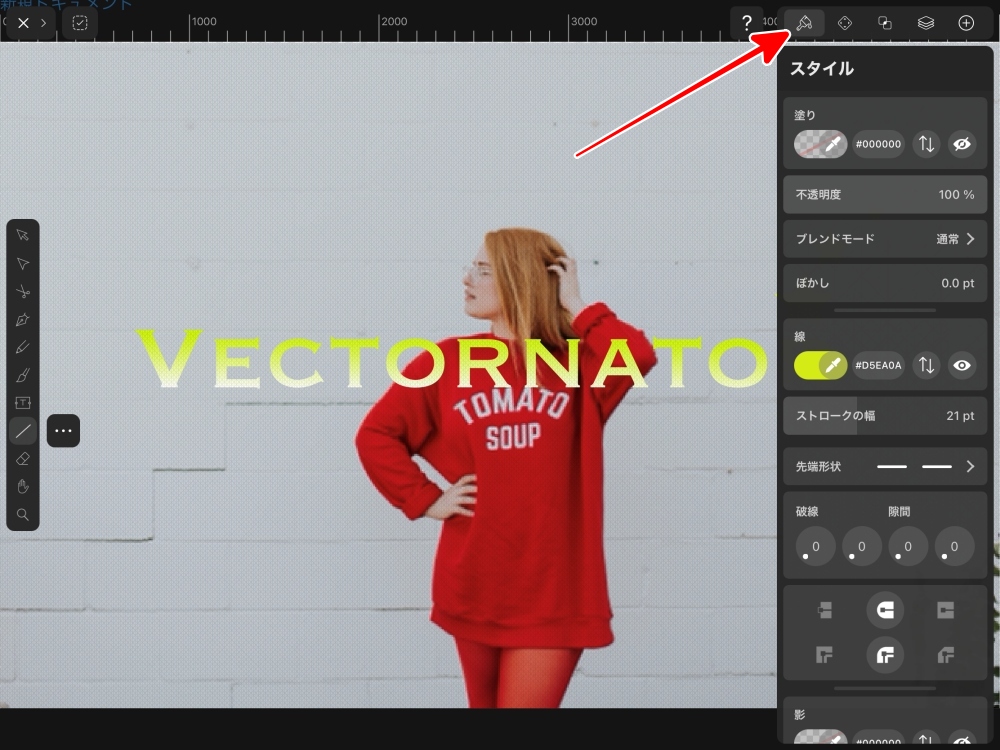
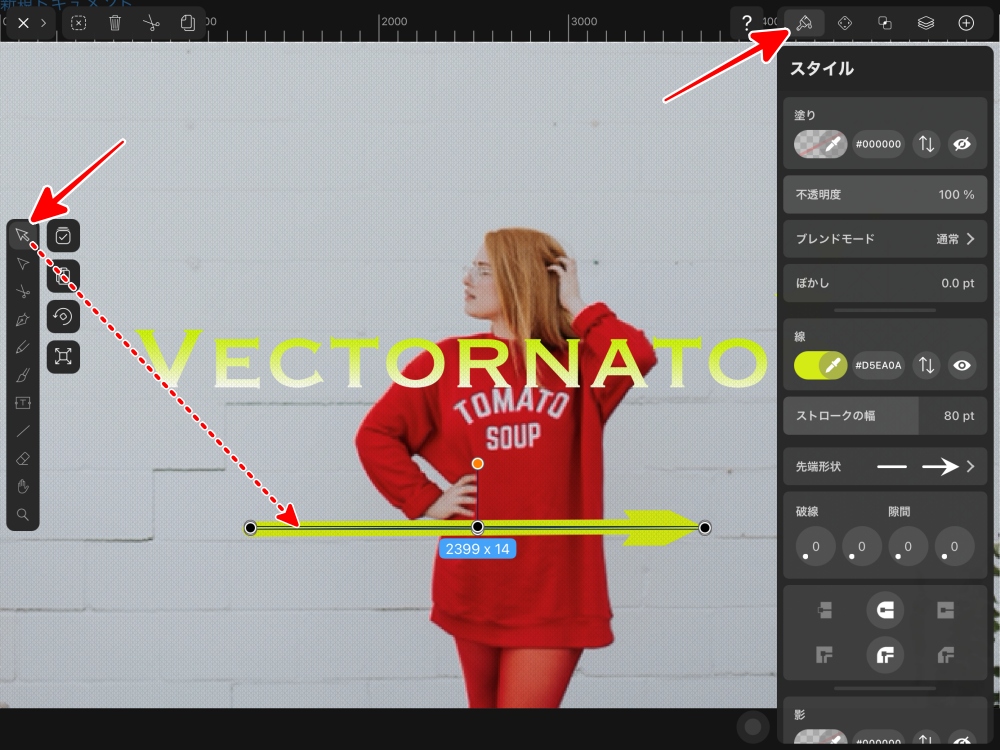
上部にある「スタイル」ボタンをタップ
画像上をタップ、ドラッグして
線を描きます。
太さ、線種、長さ、位置、色などは
あとから変更できます。
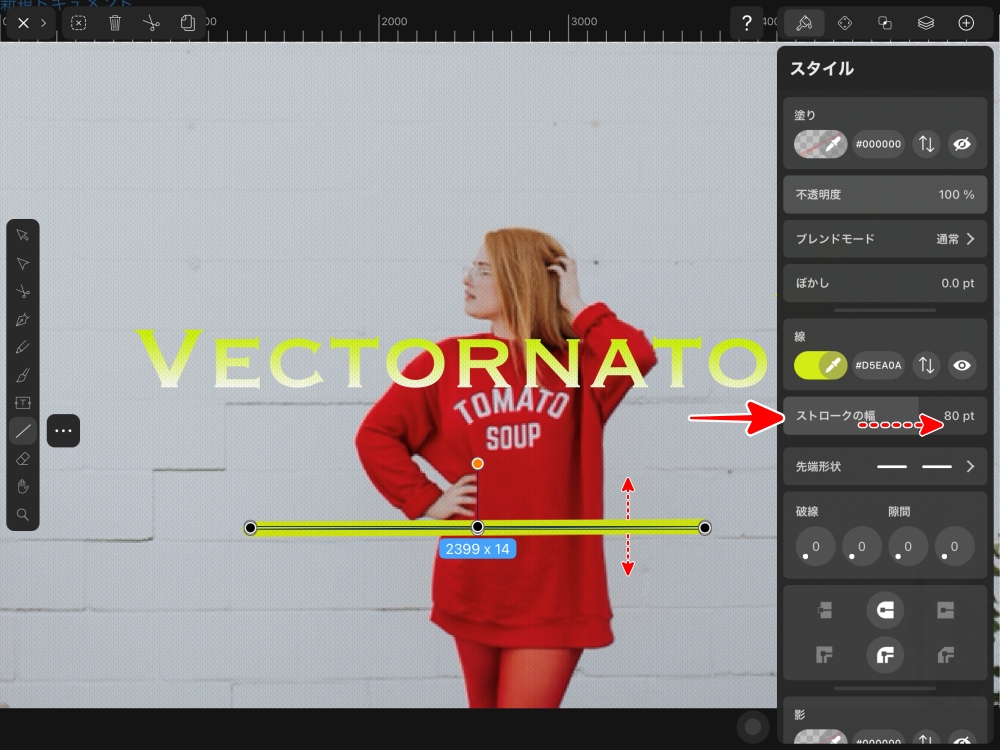
1.線の太さを変える
「スタイル」の中にある
「ストロークの幅」のスライダーを
右方向へ動かすと、線が太くなります。
反対に、
左方向へ動かすと、線が細くなります。
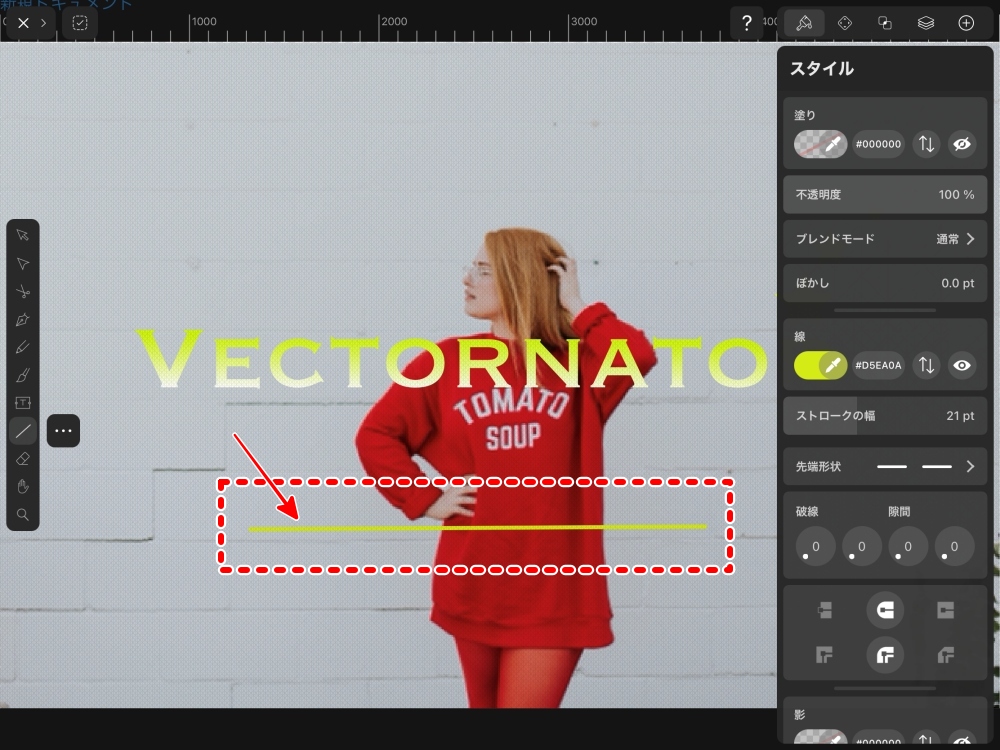
2.線の種類を変える
ラインを矢印に変えます。
「スタイル」から
「先端形状」をタップします。
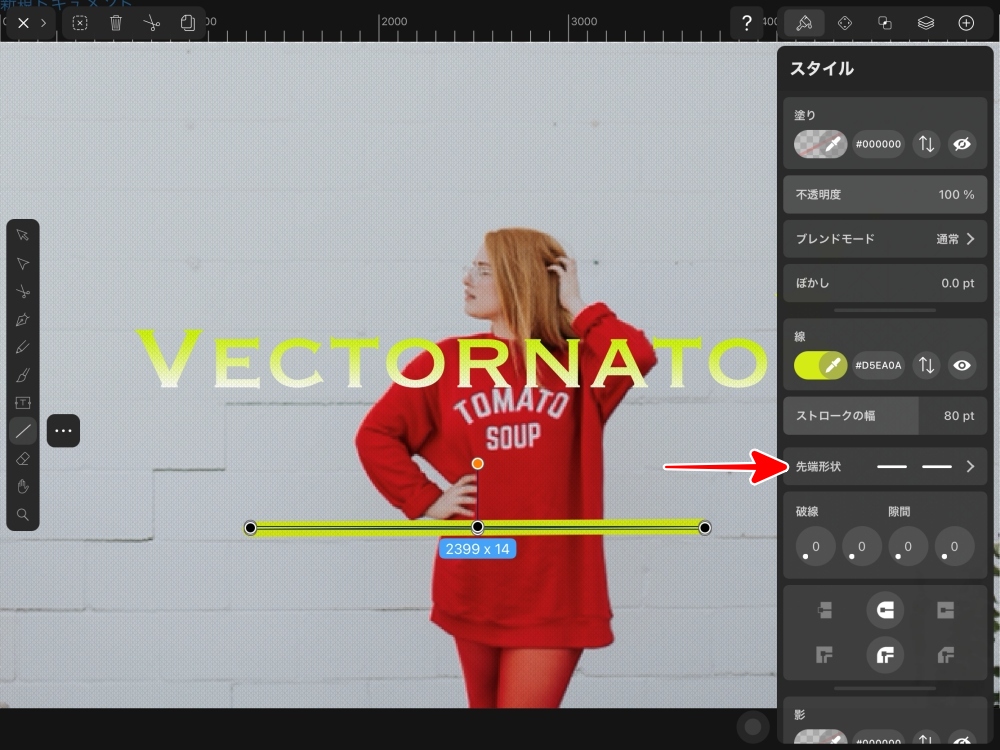
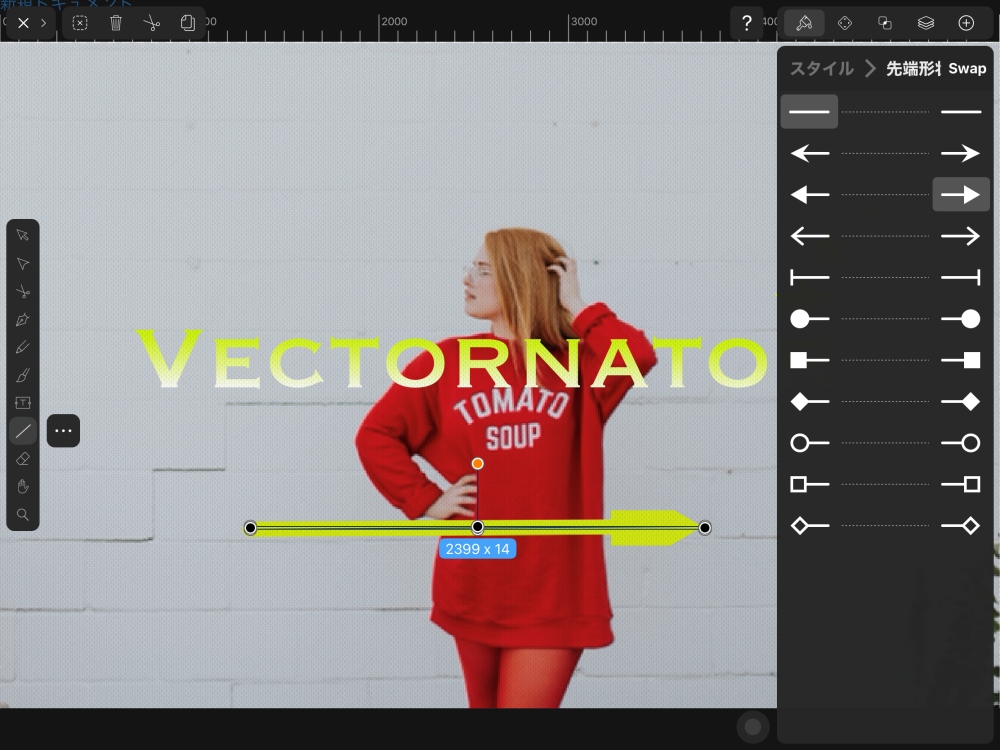
先端形状の一覧から
線の両端のデザインを選びます。
選ぶと直ぐに、
描いた線に反映されます。
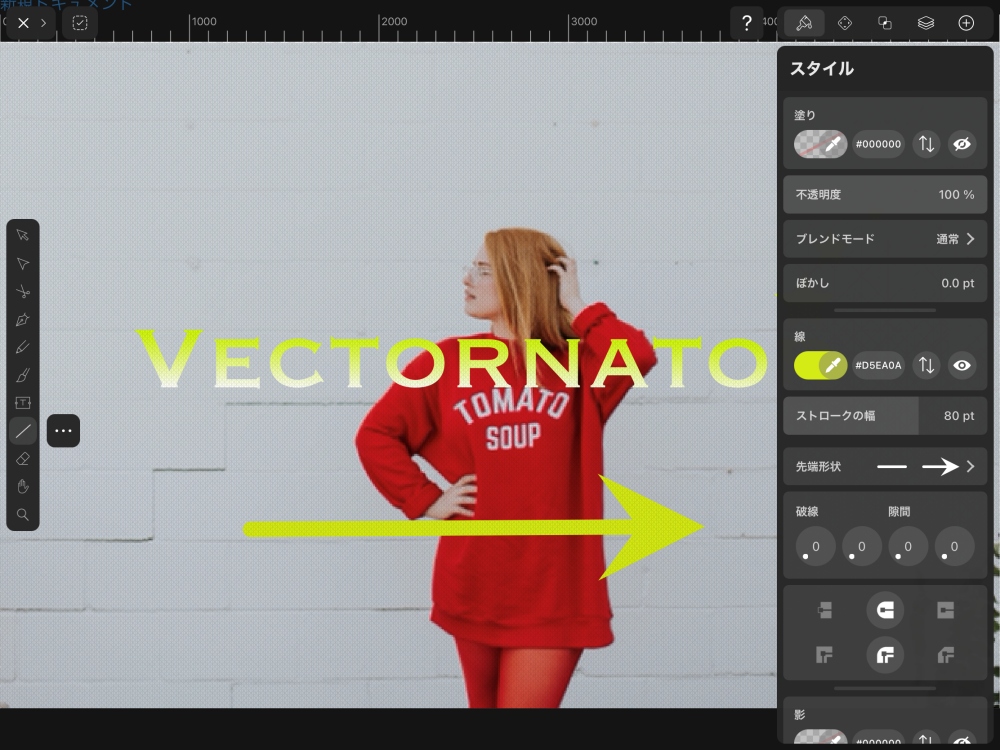
一部、矢印の先端が欠けて見えますが
大丈夫です。
画像の任意の位置をタップすると
矢印のデザイン全体が見えるようになります。
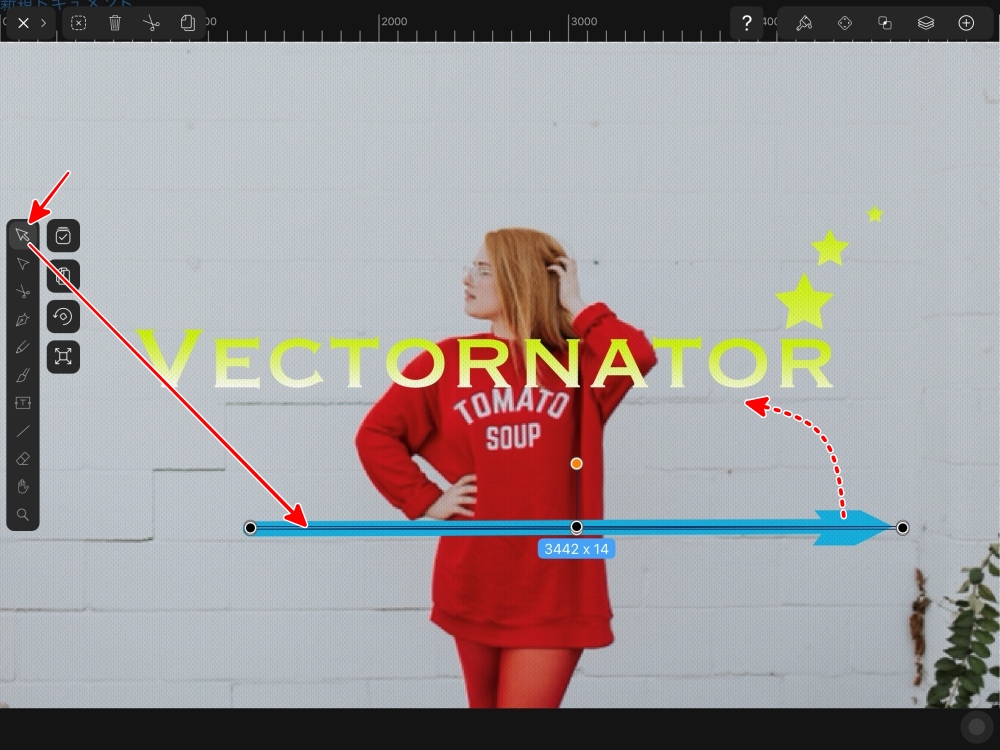
3.線の長さを変える
最初に作業スペースを広げるために
「スタイル」ボタンをタップして
スタイルを非表示にしてます。
次に左のツールから
一番上の矢印型のボタンをタップしたあと
描いた矢印をタップして選択状態にします。
矢印の先端にある●を
ドラッグして動かした分だけ
長さが変わります。
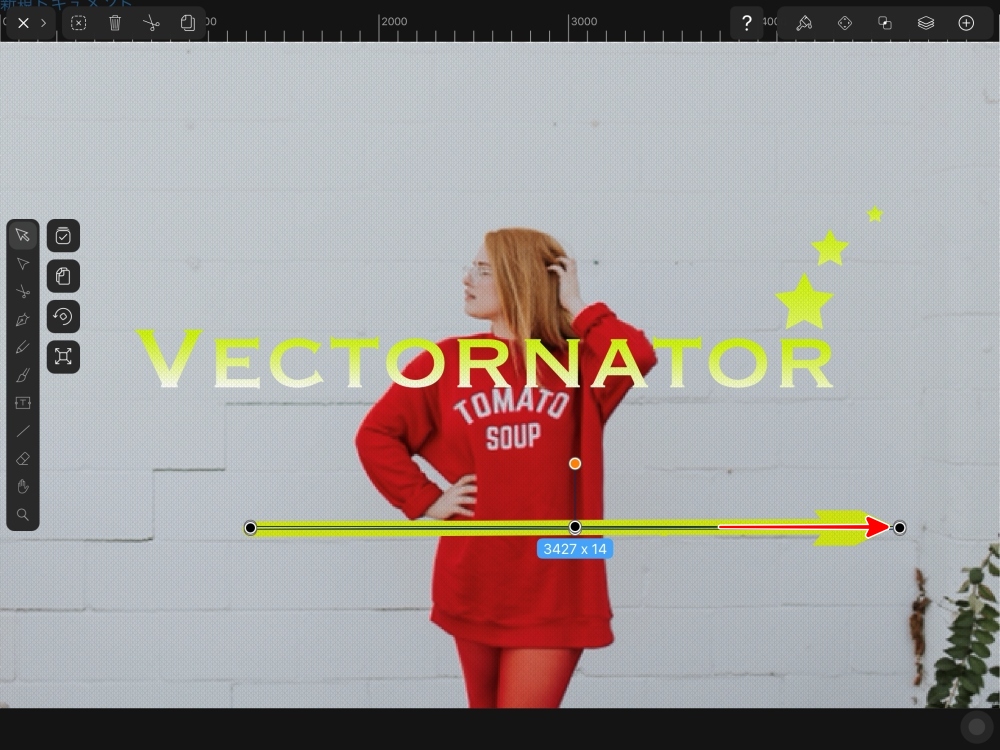
画像上の任意の位置をタップすると
選択が解除されて、矢印全体が見えます。
4.線の色を変える
左ツールの矢印型のボタンをタップして
色を変える線をタップして選択し
スタイルボタンをタップして
スタイルパネルを表示させ
「線」の色の部分
下の画像だとイエローの部分をタップします。
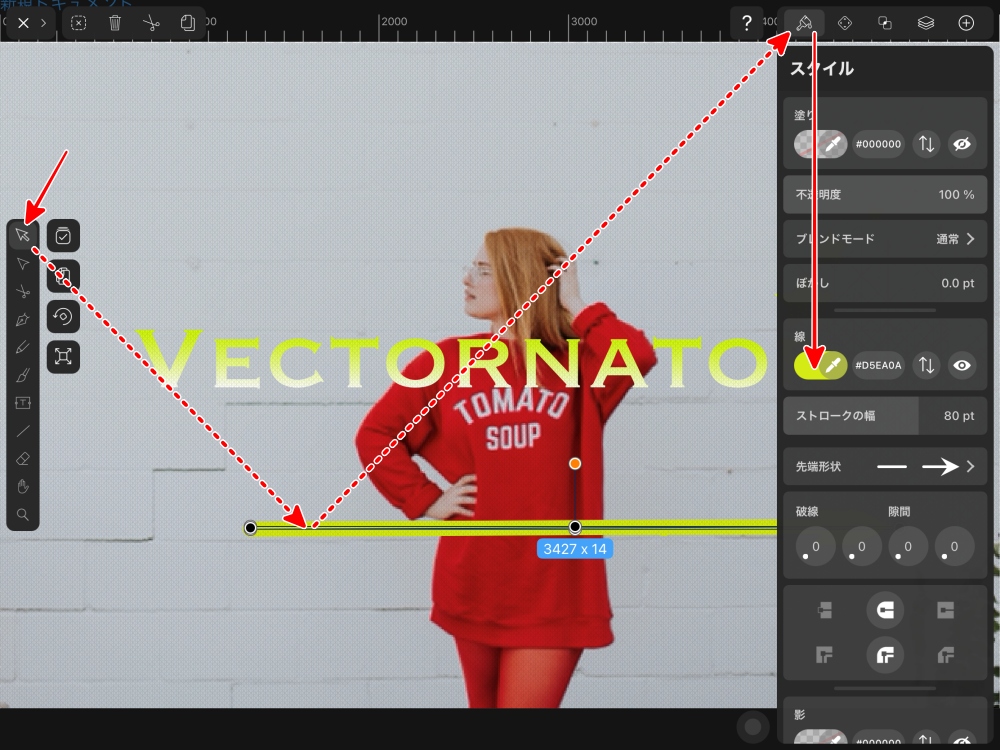
最初に色のスライダー、
次に四角形の中で細かく選択して
色を決めます。
その色が、そのまま線の色に反映されます。
スタイルボタンをタップして
スタイルパネルを非表示に、
画像上の任意の場所をタップして
線の選択を解除すると
矢印の全体が見えます。
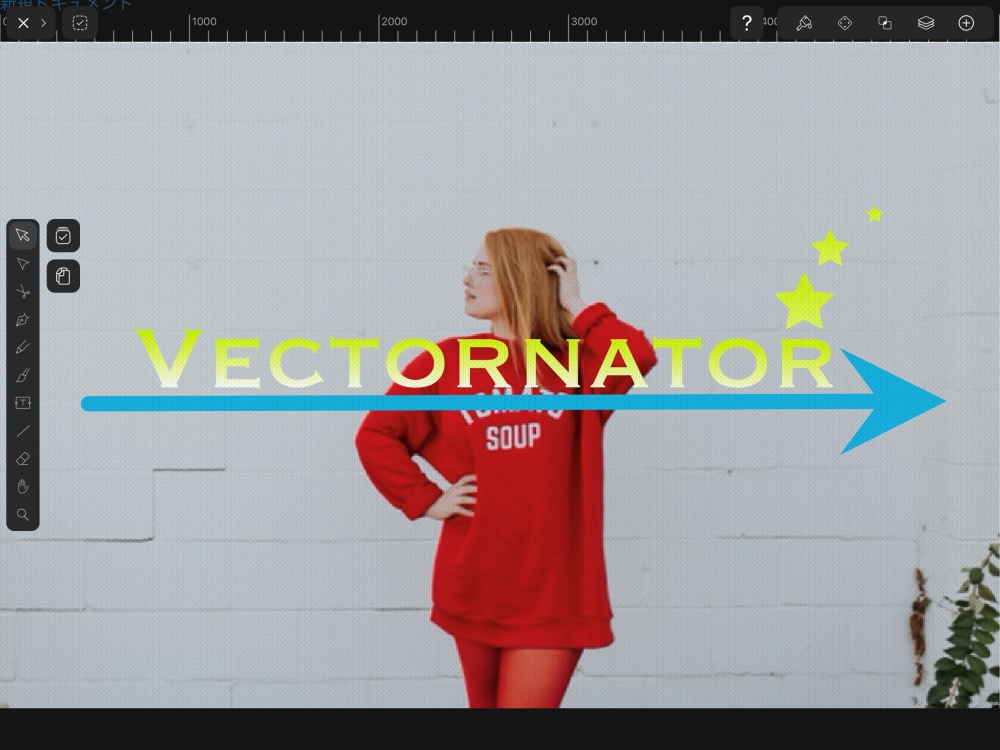
5.線を移動させる
線を選択した状態で
タップしたままドラッグして
任意の位置に動かします。
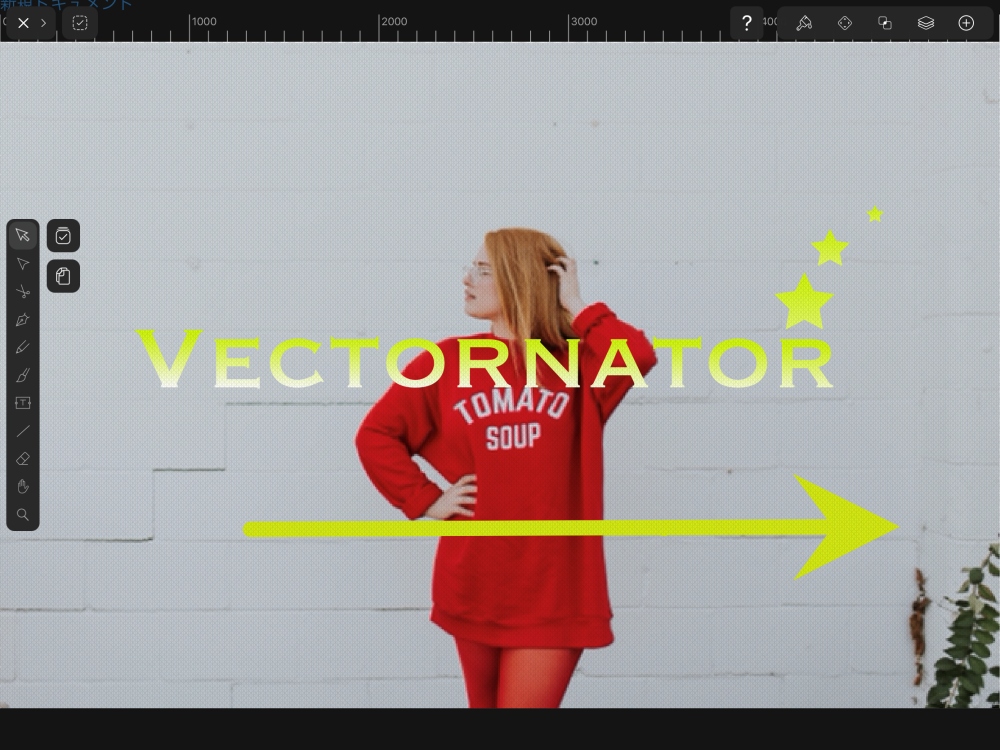
でき上がりです。
でき上がった画像を保存します。
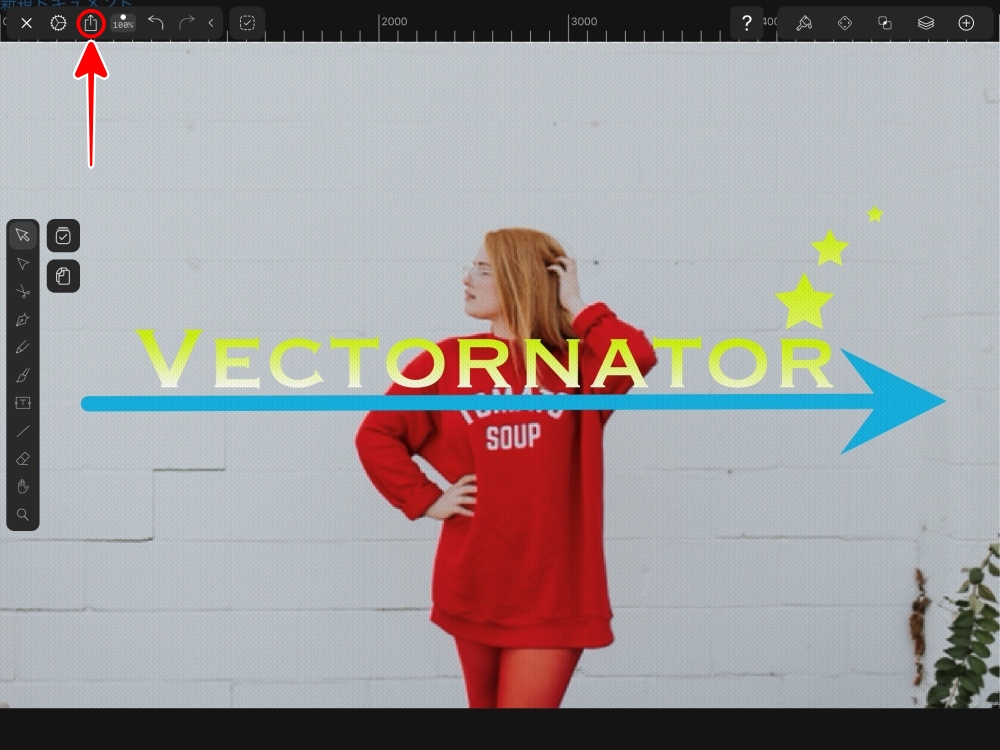
左上の「>」ボタンをタップ。

○の共有ボタンをタップ。
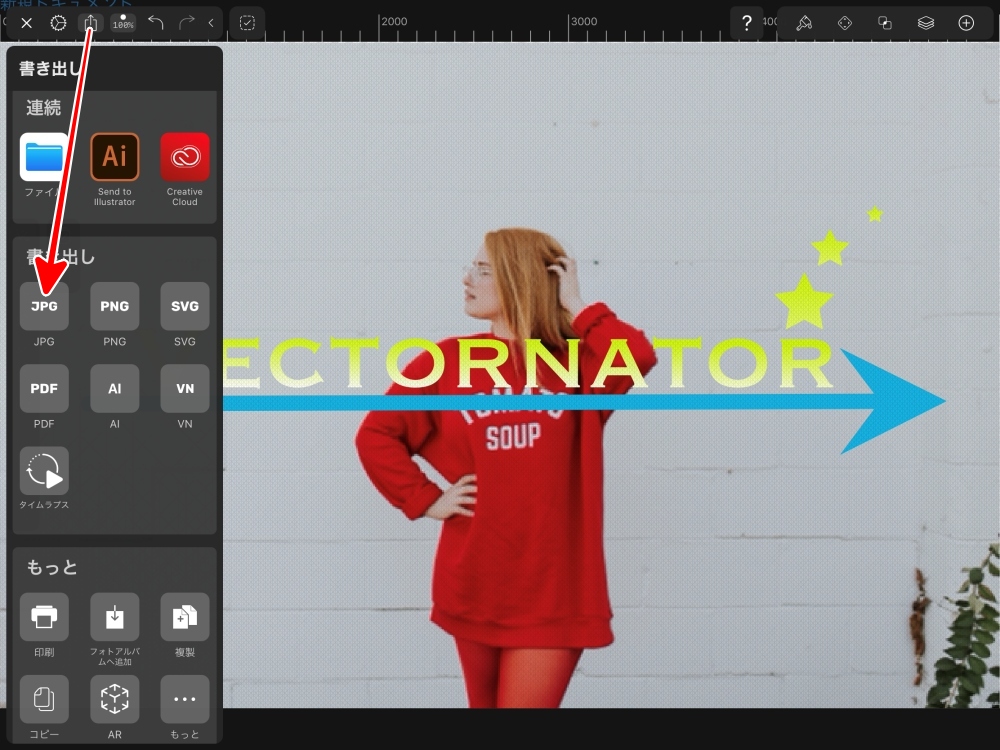
ブログやネット販売のページ用に使う場合は
「JPG」をタップします。
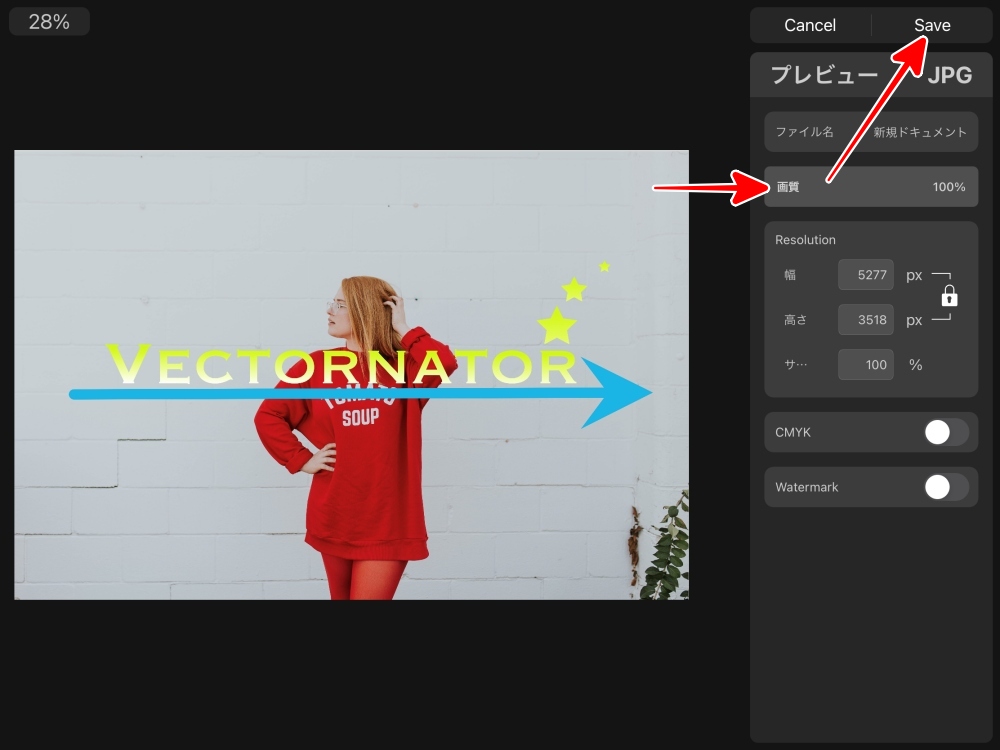
「画質」を設定します。
100%が最高画質ですが、
そのぶんデータが大きくなりますので
画像が粗くならない程度に調整します。
僕の場合、90%~95%が多いです。
そのあと「Save」をタップします。
「画像を保存」で
カメラロールに保存されます。
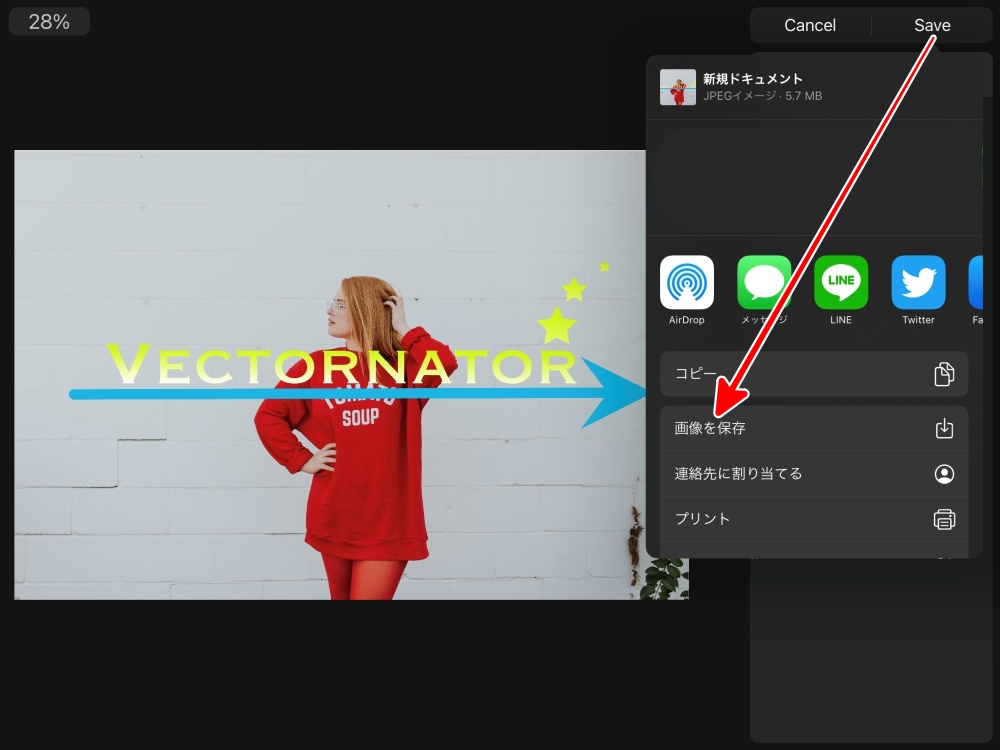
これで、保存完了です。
これで完成です。
Vectornator まとめ
VectornatorはIllustratorと同じ、べクタ-データを扱うアプリなので、画像をピンチアウト(拡大)しても、文字や図形が全く粗くなりません。
これは、このブログでこれまでに解説してきた、他の画像に文字を入れるアプリには無い特徴です。でも、Webに載せる程度の決まった小さな画像を作成する場合、あれば便利ですが、無くてもじゅうぶん見た目にキレイに作ることは可能です。
細かい文字や色の設定、図形を自由に操る、そして今回は解説していませんが、ブラシを使った表現などを行いたい場合は、無料でここまでできるVectornatorは、最高に素晴らしいできで、僕が使う範囲なら、最強のAdobe Illustratorを置き換えるほどの実力を持っています。


コメント